Products
Coding with the Ryze Tello
Heliguy Insider have been testing out the Ryze Tello with DJI and Intel technology and its use with Scratch coding system. ... Read More
Scratch and the Tello

How to Use Scratch
Once you’ve got to grips with flying your Tello and using all of the different intelligent modes, it’s time to check out the Scratch coding functionality. We will walk you through the process of using Scratch with your Tello. First off, we will look at the tools required for the Tello.
Downloading Software

Tello.js
Tello.s2e
Once everything is downloaded, make sure you have the Tello ready to move onto the next stage.
Scratch Setup
Connect the Tello
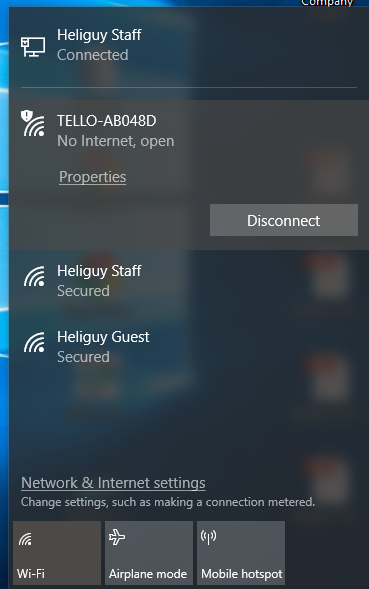
Using Scratch
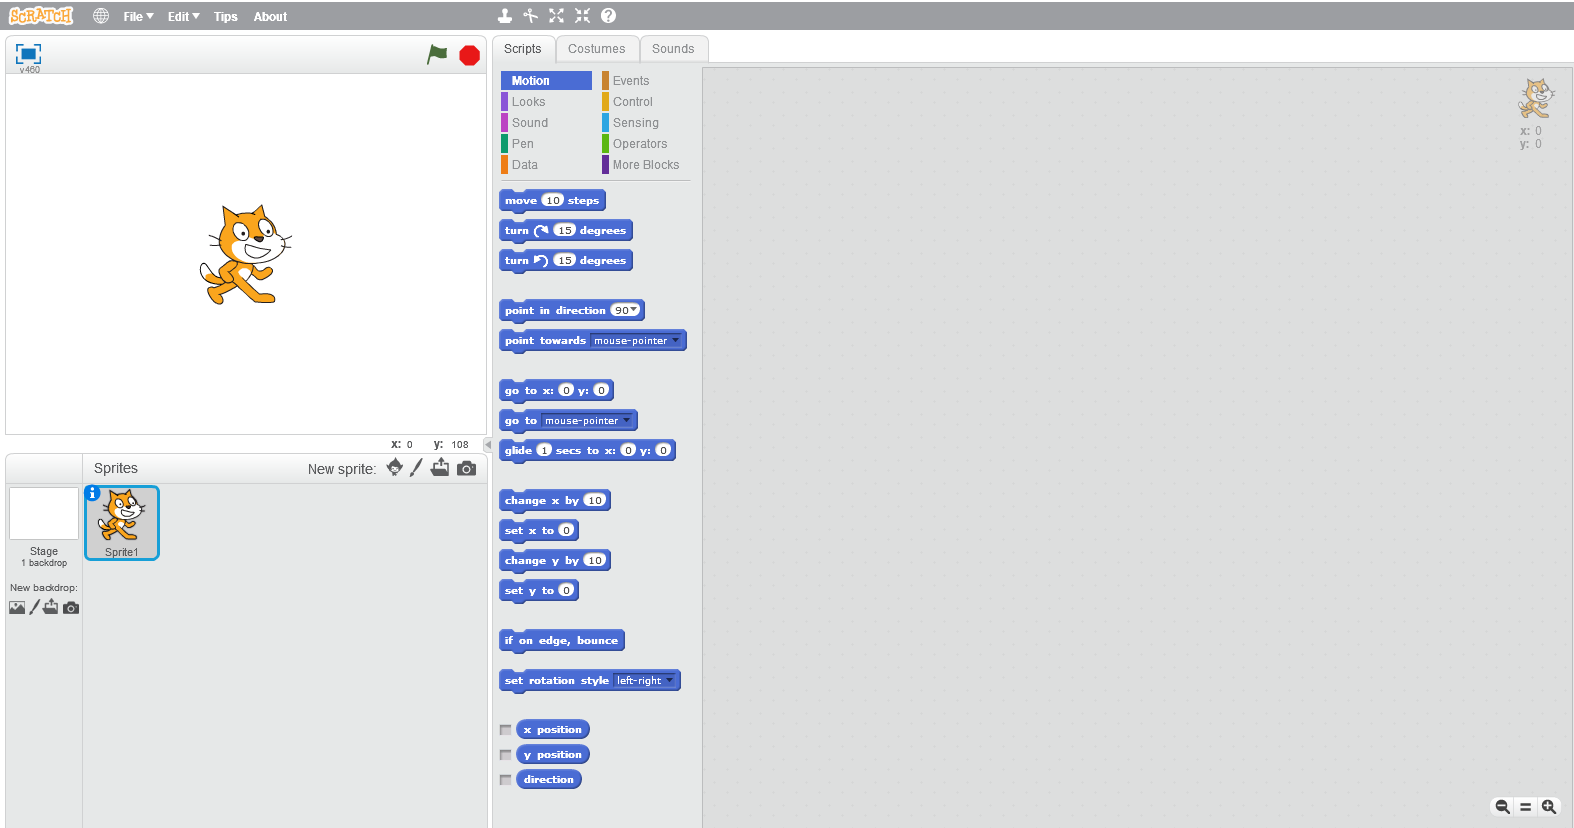
Once you have everything installed and setup, you can begin using Scratch to control the Tello and create pre-planned flight. In this section, we will be looking at the Tello controls used for flights and showing you four examples.
Scratch Controls
When using Scratch with your Tello, there are three main categories of blocks you will need to use, dependent on your type of flight. Event - This is the block used as a trigger for something to happen. Flights are usually set to begin when the green flag is selected or space bar pressed. More Blocks - This section is the specific controls put in for the Tello such as take off, fly forwards and flip. Controls - This section allows you to add in instructions such as the duration of a move or repeat a move etc. Sounds - We've added in this extra category for its entertainment value, you can input different sounds into your flight. Sounds are played on the device used to control the Tello, in our case, the Windows laptop. In order to input the controls, simply drag a block into the right-hand section of scratch. You should start with an event, then input your desired instruction for the Tello. Always assign the take off and landing before beginning any flight. We also recommend you create an option to land the drone when a button is selected. For this, we chose the space bar on all flights. This will give you the option to end the flight at any time, a useful option if an error occurs.
Basic Planned-Flight
For the first flight, we have planned a basic flight for the Tello using Scratch. It's recommended for your for your first flight, you create a similar flight in order to get used to the basic controls.
Scratch Controls

Video Example
Advanced Planned-Flight 1
Once you've got used to basic flights as shown below, try moving on to more advanced flights with complex routines. You can incorporate flips, more difficult manoeuvres and incorporate sounds.
Scratch Controls
Video Example
Advanced Planned-Flight 2
For this flight, we incorporated sound into the flight to show off this feature.
Scratch Controls
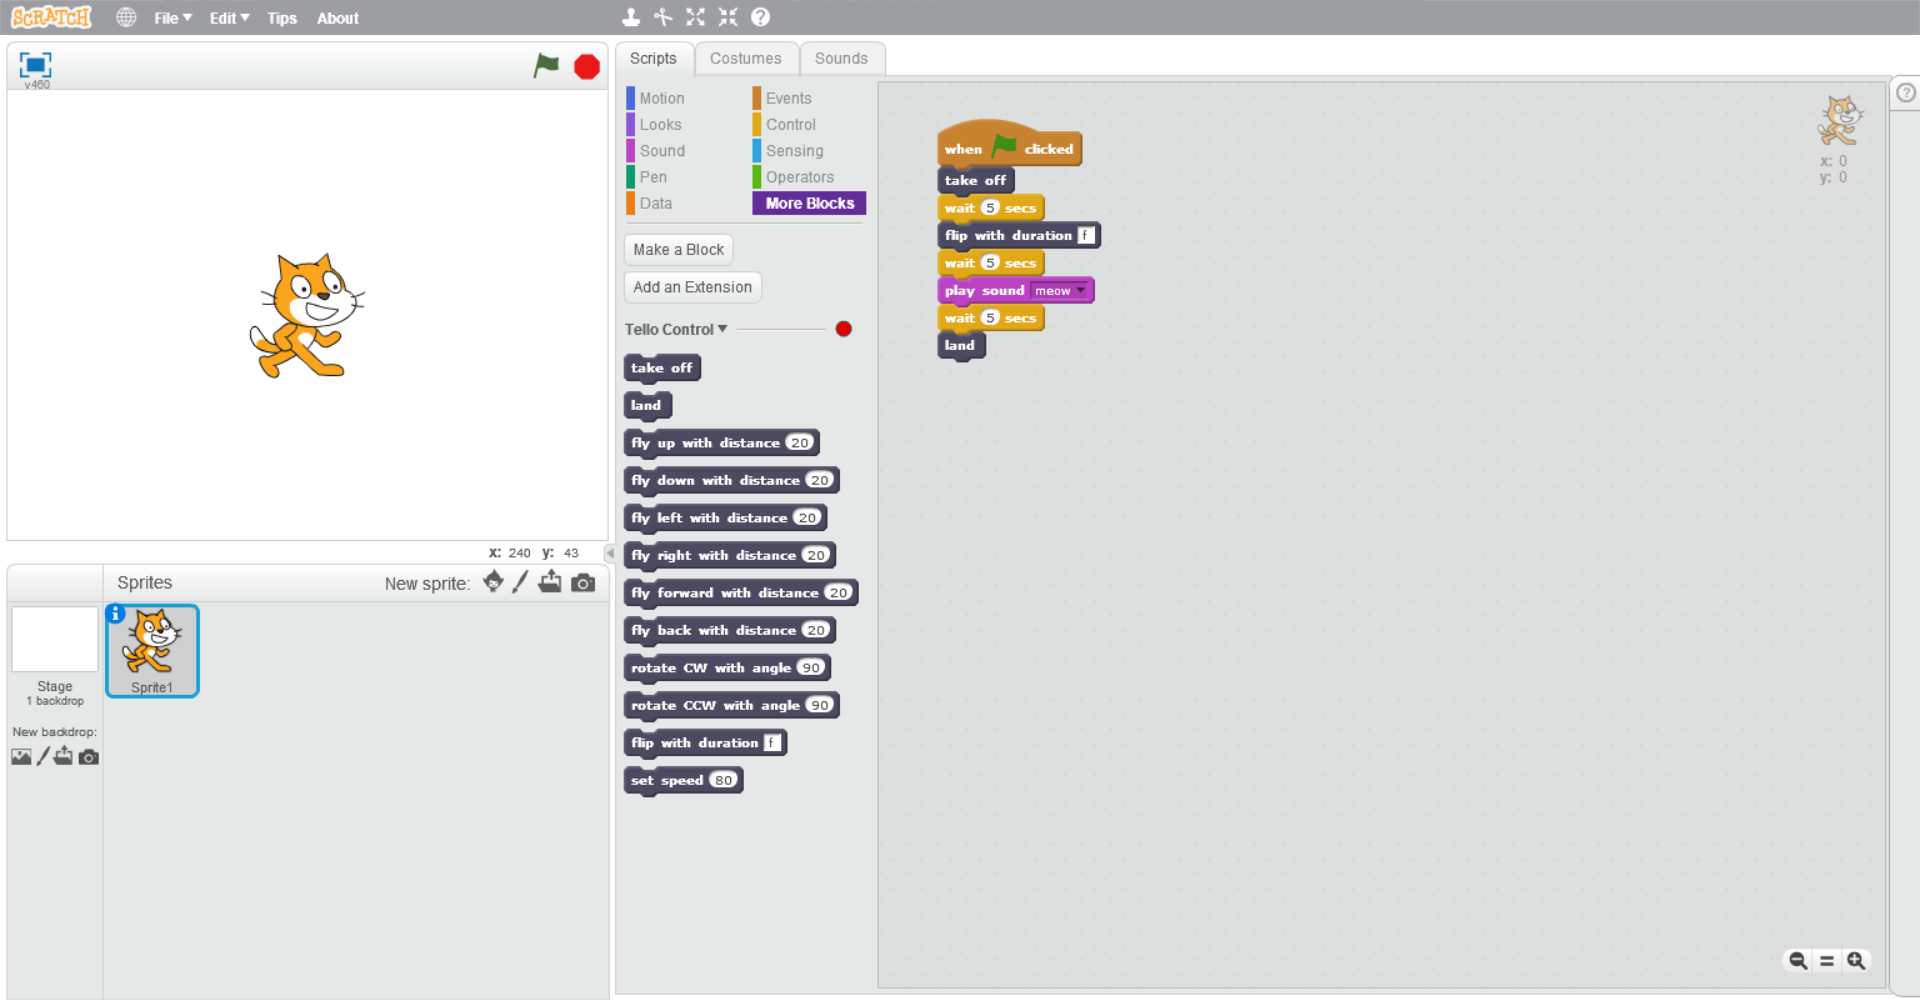
Video Example
In Air Control
Video Example
Summary
The option to use Scratch with the Tello is a great addition to the drone. The setup seems daunting at first but once you use the process a couple of times, it becomes second nature. It will be interesting to see if this is developed in the future by Ryze to include options like video record, take a picture or the intelligent flight modes. This would definitely improve the user experience. You can see that the use of Scratch with the Tello is primarily aimed at younger generations but it's still fun to use and a great educational tool to learn the basics of coding.
To discuss any information from the above post or any DJI or Freefly product, please give one of our team a call on 0191 296 1024 or email us at info@heliguy.com.
Keep checking back to Heliguy’s Insider Blog for more announcements, insights into drones and, of course, the latest news from the drone industry.
