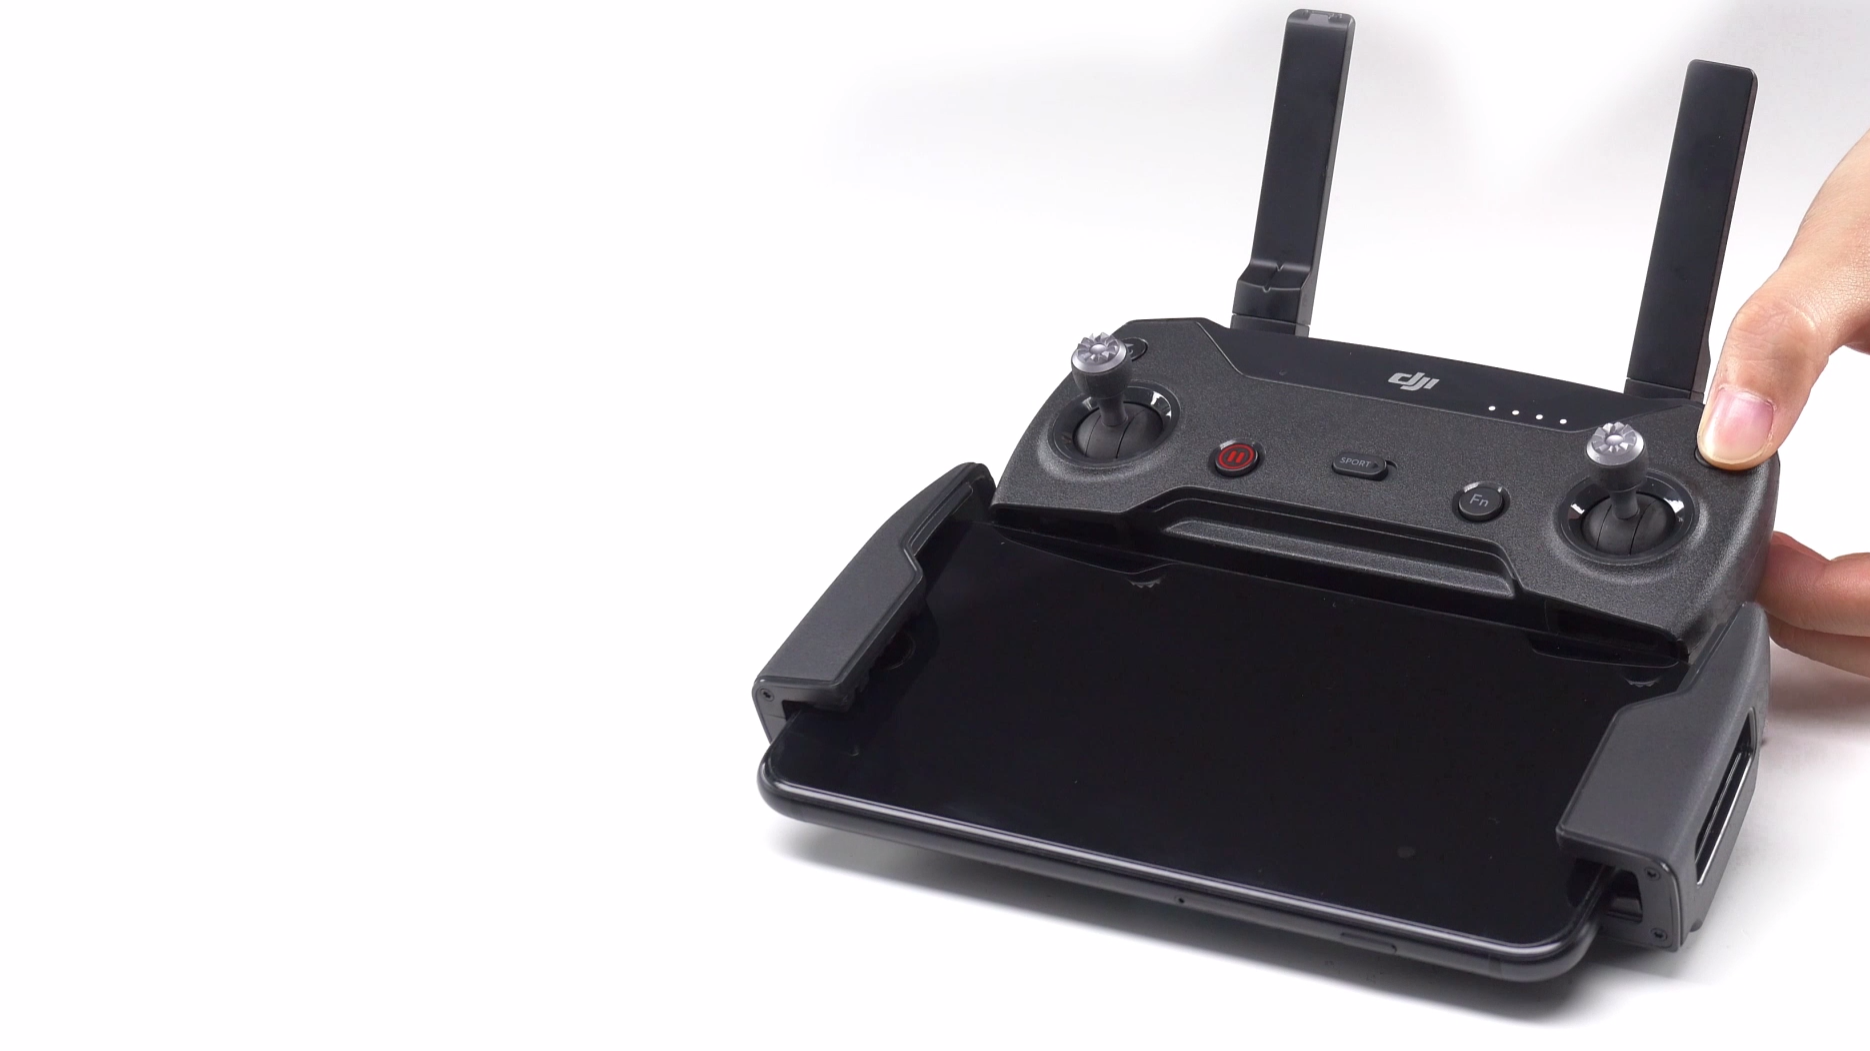
Connecting your DJI Spark with the remote controller
A step by step guide on how to connect your DJI Spark remote control with the Spark quadcopter.
When you first receive your DJI Spark your remote and drone will be connected out of the box however if you buy a controller separately or your controller isn't connected, here is a step by step guide to help you with this.
Before starting this process, ensure both the remote and spark are fully charged.

Step-by-Step connection guide
Power On Devices: Turn on the DJI Spark and the remote controller. If the status LED on the remote controller is red, it needs to be linked to the aircraft.
Initiate Linking Mode on the Spark: Press and hold the power button on the Spark for 3 seconds. Release when the aircraft beeps, and the front LEDs blink red slowly.
Link the Remote Controller: On the remote controller, press and hold the following buttons simultaneously: Flight Pause Button, Function Button, Custom Button. When the LED on the controller turns green, the connection has been successfully established.
Connect the Mobile Device: Open Wi-Fi settings on your mobile device and find the controller SSID (it will be displayed on the remote controller). Connect your mobile device to the controller’s Wi-Fi.
Launch the DJI GO 4 App: Open the DJI GO 4 app and select 'Start Flight' to begin your session.
Next Steps
Your DJI Spark is now successfully linked to the remote controller, allowing you to fly with precision and confidence. If you experience any issues during setup, heliguy™ is here to help—contact us via phone or email for expert support.