Products
Update DJI Inspire 1 Firmware – Tutorials and Advice
Step by step guide on how to update the DJI Inspire 1 Firmware using DJI Go or an SD Card.
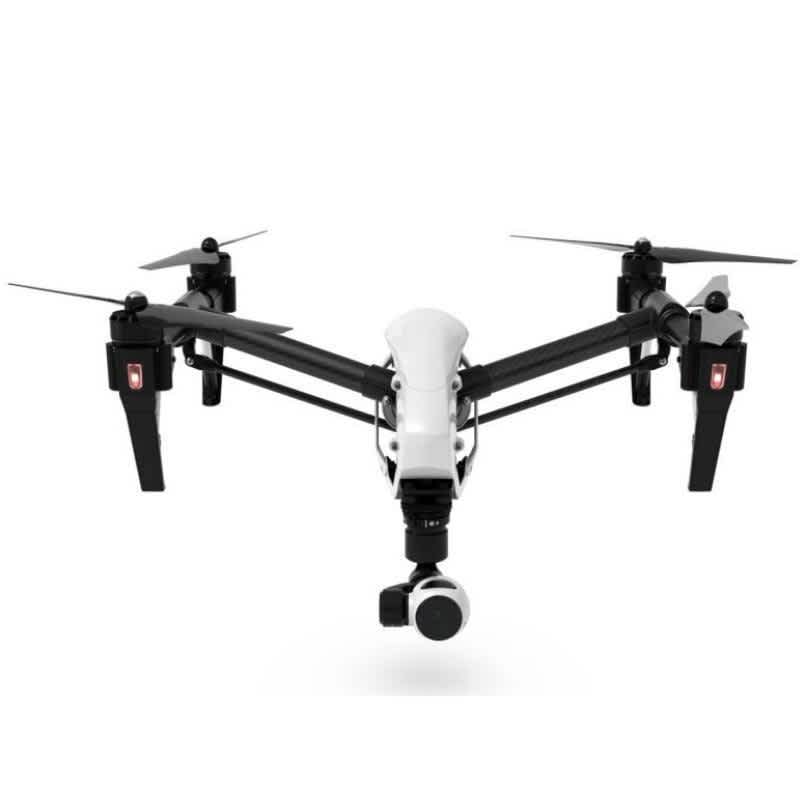
If you own a DJI Inspire 1, you’ve no doubt been impressed with its versatility. However, DJI isn’t slowing down - they are periodically releasing new firmware updates for the Inspire 1 aircraft and remote controller that add functionality, fix bugs, and support new accessories.
heliguy™ has put together this detailed guide to show you how simple it can be to upgrade the firmware on your Inspire 1.
What do I need in order to upgrade the Inspire 1 firmware?
There isn’t much preparation you need to do, but it’s best practice to ensure that you have the following things to hand:
A PC or Mac with a stable internet connection.
Fully charged Inspire 1 aircraft.
Fully charged Inspire 1 remote controller.
Micro SD card with at least 300 MB of space.
Fully charged mobile device with the latest DJI GO app.
60 minutes to process the firmware update.
How do I update the Firmware on my Inspire 1?
Updating the Inspire firmware is similar for all models: the standard Inspire 1, V2, Pro, and RAW. Following the steps below will help you install the latest firmware on your aircraft.
Download the latest firmware from the Inspire 1 Downloads page on the DJI website.
Extract / Unzip the firmware file you’ve downloaded to your desktop.
You will find a .bin file within the extracted folder – this file holds the firmware.
Insert the Micro SD card into your PC or Mac to access the files contained on it.
Copy the .bin file you just downloaded from the DJI website to the ‘root’ of your SD card. The root means the top level of the SD card, not within any folders.
Now, remove the SD card from your PC or Mac.
Insert the SD card into the Micro SD card slot on the camera used with your Inspire 1. Depending on the model of Inspire you own, this can be the Zenmuse X3 (Inspire 1 or Inspire 1 V2), Zenmuse X5 (Inspire 1 Pro), or Zenmuse X5R (Inspire 1 RAW).
Ensure your Inspire 1 remote control is switched off.
Power on the Inspire 1 aircraft.
The firmware update will now begin. While the update is being processed, you may see the gimbal move on the Inspire 1, lights flash, or beep sounds. This is part of the upgrade process, so don’t be alarmed.
The update will take some time between 3 and 10 minutes to complete.
How can I update the firmware on my Inspire 1 Remote Controller?
Updating the firmware on the remote controller for your Inspire needs a slightly different process. Please ensure that your remote and the relevant mobile device are fully charged before attempting this firmware upgrade.
Ensure that the Inspire 1 aircraft is switched off.
Connect the remote controller to your mobile phone or tablet using a USB cable.
Power on the remote controller as normal.
Open the DJI Go app on your phone or tablet.
Tap the ‘Camera’ button to enter the camera view.
Tap the ‘General Settings’ icon in the top right-hand corner of the app, which looks like three bullet point lines.
In the new ‘General Settings’ window on the screen, tap the ‘About’ option at the very bottom of the list.
Important - If the current RC firmware version is listed as older than v1.3.00, you’ll need to update it using a Micro SD card—a tutorial for which can be found here. Please do not follow the remaining steps if your current RC firmware is below V1.3.00!
If the current RC firmware version is listed as v1.3.00 or newer, you can continue the tutorial by returning to the camera screen on your DJI GO app.
Click the big status bar at the top of the screen.
From the ‘Aircraft State’ window that appears, tap the ‘Overall Status’ option.
You will be shown a message saying, ‘RC require upgrade’. Click the ‘Download firmware’ option underneath this message.
A progress bar will show you how much of the download has been completed.
When the firmware has been downloaded, click the ‘Start to Upgrade’ option, which has now appeared.
The remote's firmware will be upgraded. While this is happening, a blue light will appear on the remote. It may flash or beep during the upgrade, but don’t worry—it’s part of the update process.
Once the Status LED on the remote has changed to a solid green light, the firmware update will be complete.
The DJI Go app will also show an ‘RC upgrade completed’ prompt.
There you go – the firmware on your remote is now up to date. Restart the remote, aircraft and DJI GO app to launch everything with updated firmware and perhaps even some new features!
Subscribe to our YouTube Channel for Exclusive DJI News, Reviews and Advice
