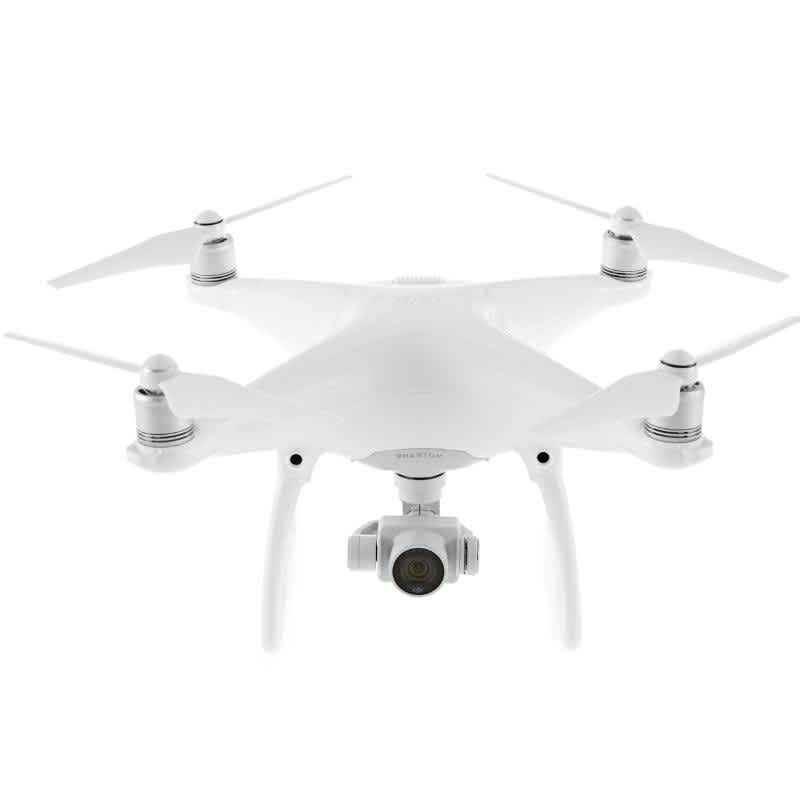
Phantom 4 Firmware Update – Tutorial, Tips and Advice
Step by step guide on updating the Phantom 4's firmware using DJI Go and DJI Assistant.
The DJI Phantom 4 is a leading consumer drone, known for its advanced features and reliability. DJI continuously enhances its performance with firmware updates, introducing new features and improving compatibility with accessories.
Keeping your Phantom 4 updated is a straightforward process, ensuring you get the best flight experience.
What do I need to prepare before upgrading the Phantom 4 firmware?
Before starting the process of upgrading the firmware, we suggest having the following things to hand:
A fully charged remote controller.
A fully charged battery in the aircraft.
A fully charged phone or tablet with the DJI GO app updated to the latest version, with at least 200mb of free storage space to download firmware files.
In terms of preparation that’s all you really need to do. The DJI GO app has added features that make updating the firmware on your Phantom 4 very simple.
Updating the Phantom 4 Firmware with the DJI GO App
Turn on the remote controller and the aircraft.
Connect the USB OTG adapter supplied in the box to the micro USB socket your Phantom 4 aircraft body.
Connect your mobile device to the OTG adapter using the appropriate cable for your device (Lightening for Apple, micro USB for Android).
Open the DJI GO app on your mobile device as normal.
Connect the DJI GO app to your Phantom 4 as you normally would.
The home screen of the DJI GO app will now prompt you with a bar along the top of the screen stating ‘New firmware update is available’.
Tap the ‘Update Now’ option to open the upgrade prompt.
Tap the ‘Download Now’ button within the app and wait for the progress bar to reach 100%.
Once the download is finished you tap the ‘Start Update’ button that has now appeared on the screen.
You will then see a progress bar appear which shows you, in real time, how the firmware update is progressing. During the firmware update your aircraft may make noises, the gimbal may drop and the aircraft may reboot. This is all part of the process and not cause for alarm.
Please allow up to 45 minutes for this process to complete.
Once the firmware upgrade has been completed, the DJI GO app will show you an ‘Update Complete’ prompt.
Tap the ‘Complete’ button to finish the firmware update.
Congratulations – you’ve upgraded your Phantom 4 to the latest and greatest DJI firmware. You can now reboot your aircraft and remote controller and reconnect to the DJI GO app as normal. Remember – if you have more than one battery – you’ll need to follow this process with each different battery fitted to the aircraft. This is because some aspects of the firmware relate directly to the Phantom 4 battery.
Updating the Phantom 4 Firmware on PC or Mac using DJI Assistant 2.
Connect your Phantom 4 to your PC or Mac using the micro USB cable supplied in the box.
Open the DJI Assistant 2 software.
Click ‘User Login’ at the top right hand corner of the screen if you’re not already logged in and use your email address and password to log into your DJI account.
Select ‘Phantom 4’ under ‘Connected Devices’.
Click the ‘Firmware Upgrade’ tab on the left hand side of the software.
You will see the latest firmware listed with a ‘New’ label next to it. Click the blue ‘Upgrade’ button on the right hand side of the screen which corresponds with the latest firmware version.
You will be shown a prompt to remind you that you must be connected to the internet with the aircraft turned on.
Click the blue ‘Start Upgrade’ button to begin the firmware update progress.
The software will download the latest firmware and begin to update the firmware on your Phantom. You’ll be shown progress bars throughout to give you real time updates on the progress of the upgrade.
During the upgrade your aircraft may have a lowered gimbal, make beeping noises, flash different status lights or reboot altogether. This is all a normal part of the upgrade process and not cause for alarm.
Once the upgrade is complete you will see a prompt in the DJI Assistant 2 software which will confirm that the firmware update is complete.
Congratulations – your Phantom 4 is now using the latest firmware. Just reboot your aircraft and remote controller to continue using your aircraft.
Update the Firmware on the Phantom 4 Remote Controller
Before attempting to update the firmware on your controller please ensure that the remote itself is fully charged, your mobile device is fully charged, the latest DJI GO app is installed and that you have access to a stable internet connection. Simply follow the steps below to update the remote controller firmware:
Turn on your remote controller as normal.
Plug the remote controller into your mobile device using a USB cable.
Launch the DJI GO app as normal.
Click the status bar at the top of the app and click the ‘Overall Status’ option, which should prompt you with ‘Firmware Upgrade Required’.
Select the blue ‘Download Firmware’ option from the list that appears on the screen.
A progress bar will show you the progress of the firmware being downloaded.
Once the download is complete, click the blue ‘Start Upgrade’ option at the bottom of the list of options on screen.
Allow up to 45 minutes for this process to complete, during which time you remote controller may beep or reboot.
Once the process has been completed the DJI GO app will show the message ‘Remote Controller Upgraded’
Summary
The DJI Phantom 4 remains one of the top consumer drones, with regular firmware updates enhancing its features and compatibility. Keeping your drone up to date is a simple process that ensures optimal performance.