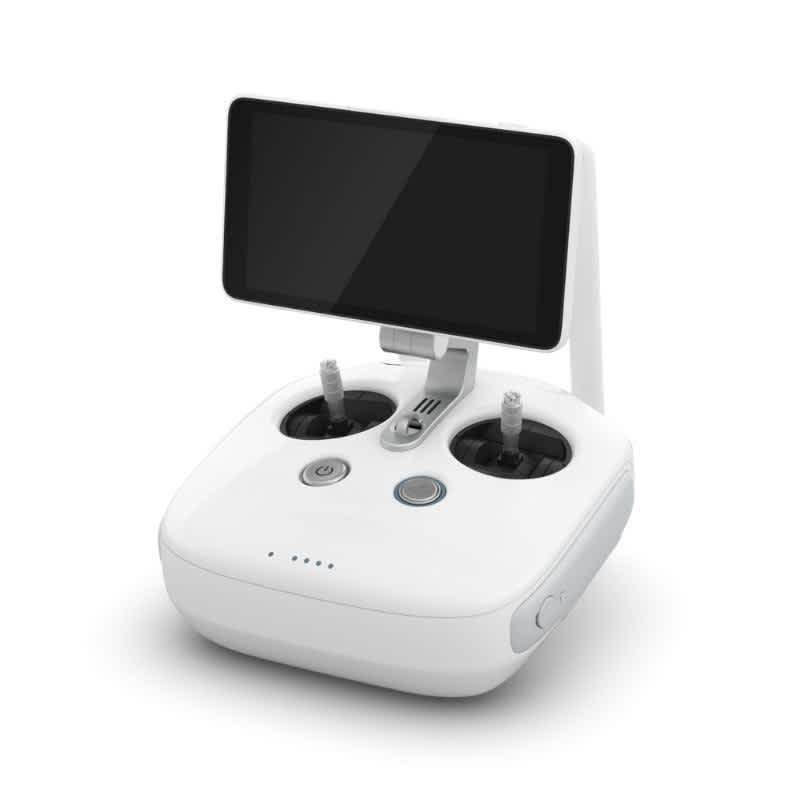
DJI Phantom 4 Pro: How to Link the Remote Controller
Link your new DJI Phantom 4 RTK Remote Controller with this fast heliguy™ tutorial.
Easily link your DJI Phantom 4 RTK to the remote controller by following this step-by-step guide.
Instructions
Power on the Remote Controller: Press and hold the power button to turn on the remote controller.
Connect Your Mobile Device: Use a compatible cable to connect your mobile device to the remote controller.
Launch the DJI GO 4 App: Open the app on your mobile device to access the connection settings.
Turn on the Intelligent Flight Battery: Power on the aircraft by pressing and holding the battery button.
Access Remote Controller Settings: Tap the remote controller icon in the DJI GO 4 App.
Select the Linking RC Button: This initiates the linking process.
Check Remote Controller LED Status: The LED on the remote controller should blink blue, indicating it's in linking mode.
Press the Linking Button on the Aircraft: Locate and press the linking button on the DJI Phantom 4 RTK. The LED will turn green once the connection is successful.
Final Steps
Your DJI Phantom 4 RTK is now linked to the remote controller and ready for flight. If you need to connect a new remote controller, simply repeat these steps.
For additional support or troubleshooting, contact heliguy™ via phone or email for expert advice.