Products
How To Do A Dronie QuickShot On The DJI Mavic Mini Drone
A simple step by step guide on how to perform a Dronie QuickShot on the DJI Mavic Mini drone.
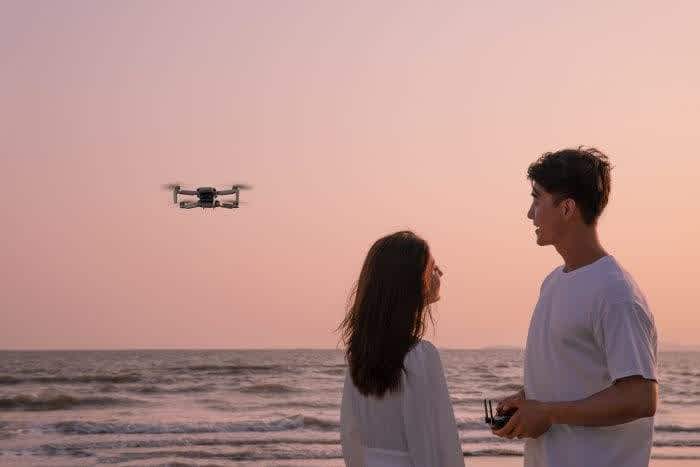
Take the DJI Mavic Mini along on your next journey, and let it be your personal camera crew. Use Dronie to capture yourself and your surroundings perfectly in the frame.
Tip: Take off and hover at least two metres above the ground before shooting.
Tip: Before using QuickShots, ensure the aircraft is in Position mode (P-mode) and the location is clear of buildings and obstacles. If you are shooting in a new location, starting with a shorter distance is recommended.
To Perform Dronie On The DJI Mavic Mini
Step One: Open the DJI Fly app and select Dronie in QuickShots.
Step Two: Set your desired flight distance.
Step Three: Select your subject by tapping or dragging a box around it on the screen.
Tip: After selecting your subject, the shutter button in the app will turn into a 'Start' button.
Step Four: Tap 'Start', and the Mavic Mini will automatically fly to the target area and start recording while flying backwards and upwards.
Step Five: To exit a QuickShot during shooting, tap the X on the right of your screen…
…or short-press the upper left button on the remote controller, and the aircraft will stop and hover in place.
Tip: After the QuickShot is finished, the aircraft will return to its original location and hover.
Step Six: After shooting, the app automatically generates a 15-second video. In the playback interface, you can preview the video you’ve just finished.
Step Seven: You can also tap 'edit' on the bottom right of the screen to re-do the edit.
Step Eight: After you've finished your edit, share the video on social media.
