News
Published on 23 Dec 2019
James Willoughby
How To Do A Rocket QuickShot On The DJI Mavic Mini Drone
A simple step by step guide on how to perform a Rocket QuickShot on the DJI Mavic Mini drone. ... Read More
Rocket Mode delivers a wide view to capture all of the action and family members in one epic shot. Here's how to do it.
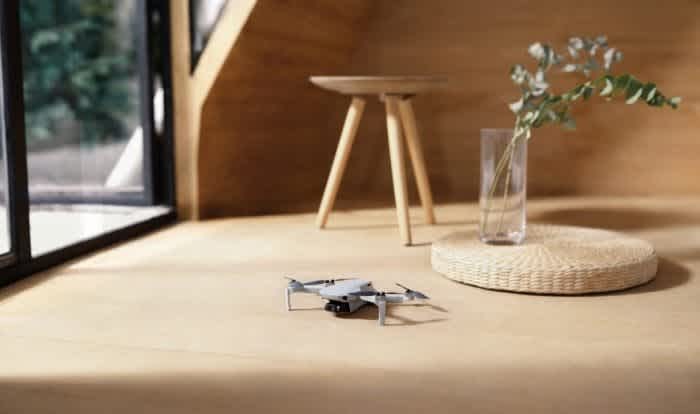
Tip: Take off and hover at least two metres above the ground before shooting.
Tip: Before using QuickShots, make sure the aircraft is in Position mode (P-mode) and the location is clear of buildings and obstacles. If you are shooting in a new location, it is recommended to start with a shorter distance.
To Perform Rocket On The DJI Mavic Mini:
Step One: Open the DJI Fly app and choose Rocket in QuickShots.
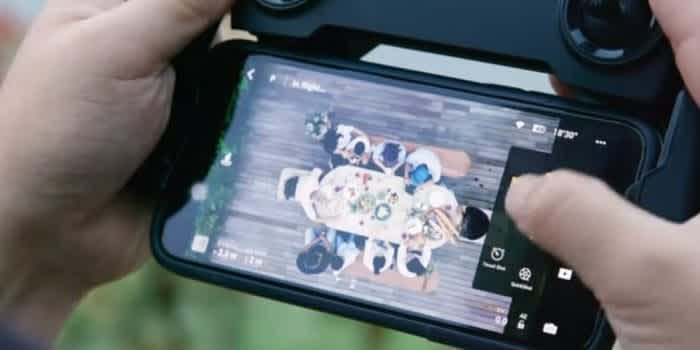
Step Two: Set the flight altitude.
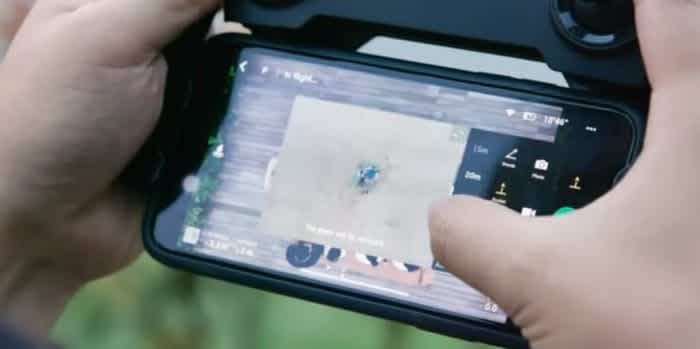
Step Three: Select your target subject by tapping it...
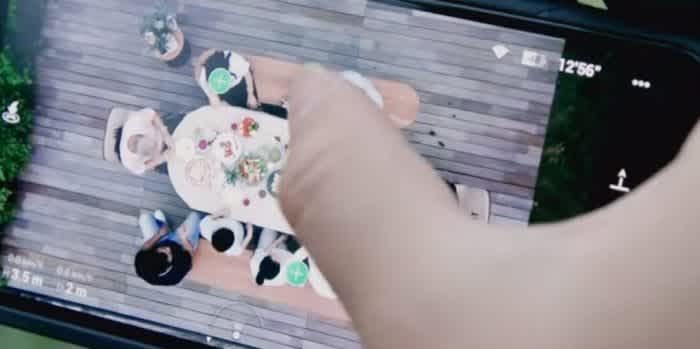
... or dragging the box around it.

Tip: After selecting your subject, the camera button in the app will turn into a 'Start' button.
Step Four: Tap 'Start' and the Mavic Mini will ascend vertically with its camera pointing downward to record the subject automatically and create an increasingly broader view.


Step Five: To exit a QuickShot during shooting, tap the X on the right side of your screen or short press the upper left button on the remote controller and the aircraft will stop and hover in place.
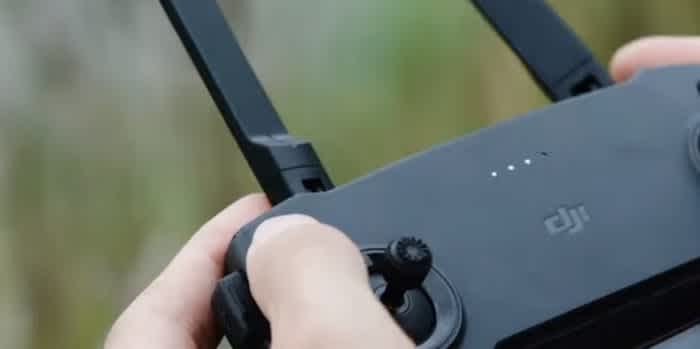
Tip: After the QuickShot has finished, the aircraft will return to its original location and hover.
Step Six: After shooting, the app will automatically generate a 15 second video. You can preview the video you just finished in the playback interface and you will find it's been automatically edited with background music.
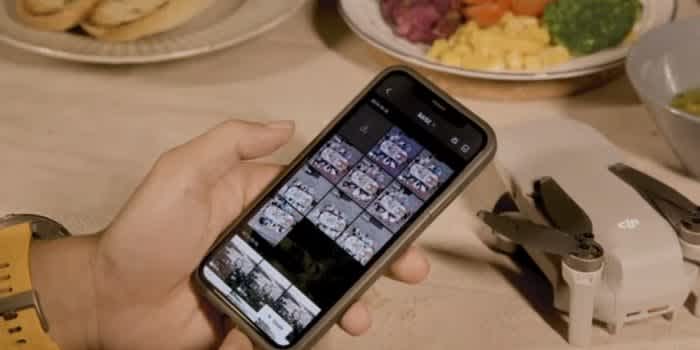
Step Seven: Tap the QuickShots icon on the bottom right to switch back to the original clip. You can also tap 'Edit' on the bottom right of the screen to re-do the edit.
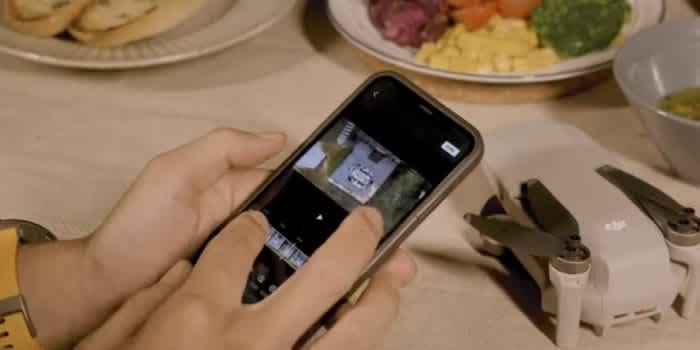
Step Eight: After you have finished editing, don't forget to share your video on social media.
