Training & Regulations
Published on 20 Jun 2018
James Willoughby
Tips on Flying your Drone in Summer
Heliguy Insider goes over some tips on how to get the most out or your drone when flying in summer. Advice includes camera settings, flight tips, ND filters and much more. ... Read More

Flying in Heat
Flying in extreme heat can have an unexpected effect on your drone. An example of this is; on hotter days, the air will be thinner than usual. In thinner air conditions, the motors on your drone will have to work harder than usual to keep the drone airborne. This extra heat, in addition to the heat from the warmer weather, will result in the motors heating up much faster, decreasing their overall efficiency. The heat will also affect the performance of your batteries. Both extreme heat and cold reduce the batteries capacity and the overall battery life will be shorter than on a day with normal temperature. Due to the above, it’s recommended you reduce your flight time and don’t fly to the full extent of your battery. Additionally, you should monitor the app you’re using to control the drone and keep an eye out for any warnings relating to the drone’s heat. Increase your downtime between flights, taking more frequent and longer breaks to let the drone and its batteries cool down. You should also be vigilant of where you keep your drone. Store in a cool and dry area and never leave you drone or its batteries in a warm car as this may lead to lasting damage. Also, you should avoid cooling down batteries with air-conditioning etc. and allow them to cool naturally. Overheating may also occur with your smartphone or tablet you’re using to control your drone. Device overheating can lead to errors in the video transmission and in extreme cases, the device to crash and lose control of the drone. Be wary of the heat on your device and stop flying if you receive any warnings or suspect it may be too hot.
Images and Video Quality
Shooting in the bright summer months can have a huge effect on your pictures and videos. Knowing how to manipulate your settings and how to choose your shots can help you get the best results.
Choose the Right Camera Settings
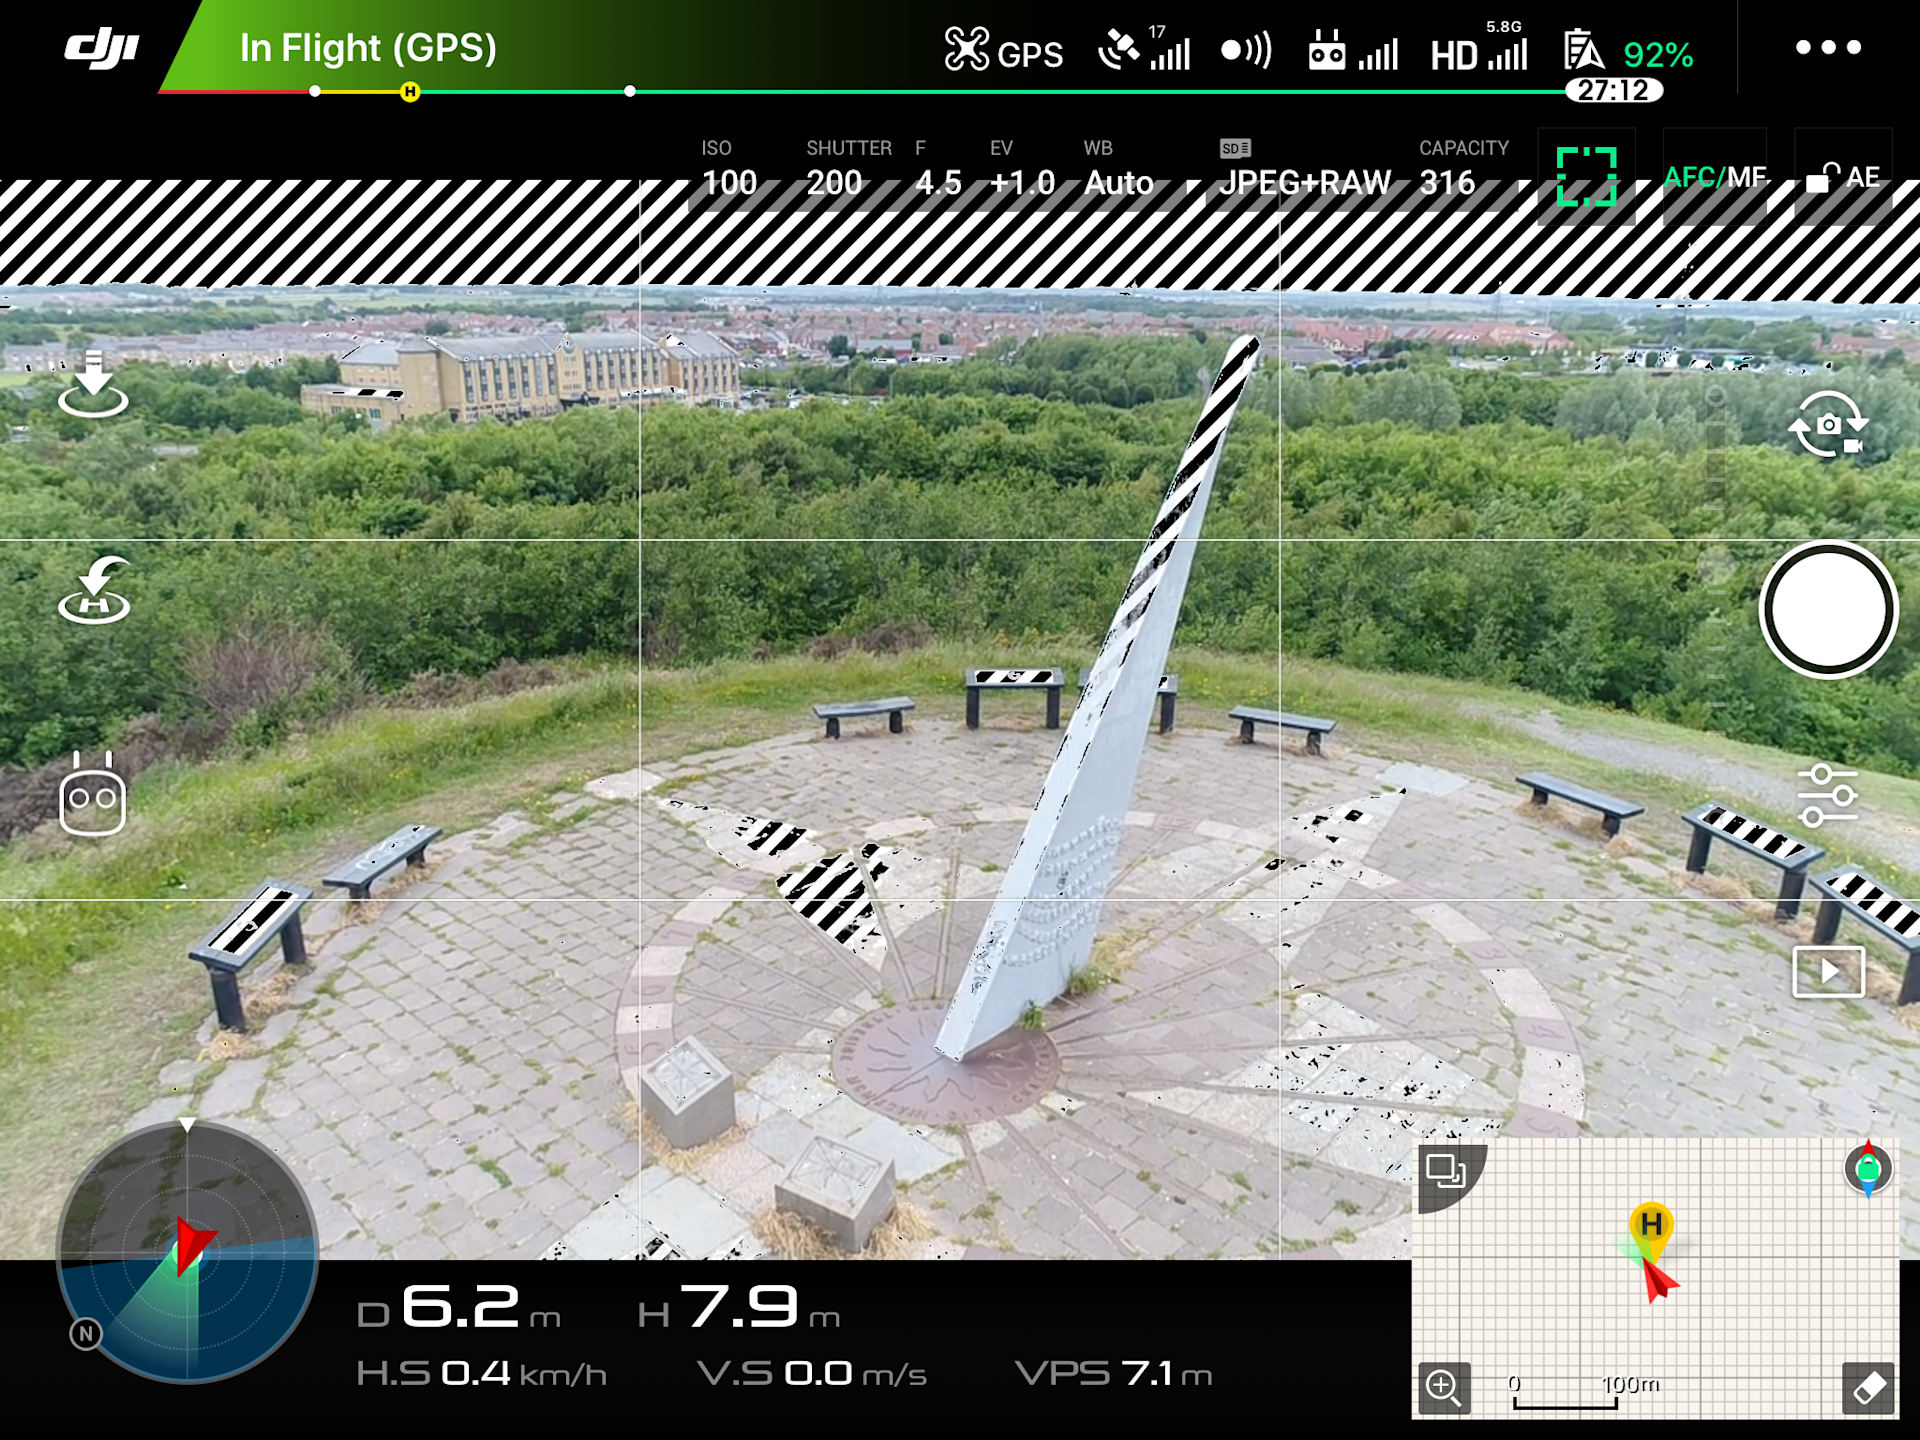
Selecting the best ISO, Aperture and shutter speed will allow you to control the drone's camera and find the correct exposure for your work. Although there’s no exact science and each shot will depend on your specific shooting conditions, there are some techniques you can use:
If you’re starting out in photography and videography and unsure of how to use the settings, try out the auto settings. These have been designed to help you out and will automatically adapt to the conditions.
Try lowering your shutter speed. This will reduce the amount of light that enters the camera’s sensor helping with your exposure level.
Increase the aperture to reduce the light that enters the sensor. Aperture is fixed on a lot of the consumer-level drones but will be available on the DJI Phantom 4 Pro and Inspire 2.
Reduce the camera’s sensitivity to light by lowering the ISO.
If shooting in JPEG only, choose the correct white balance setting to suit the available light.
Bracket your Images
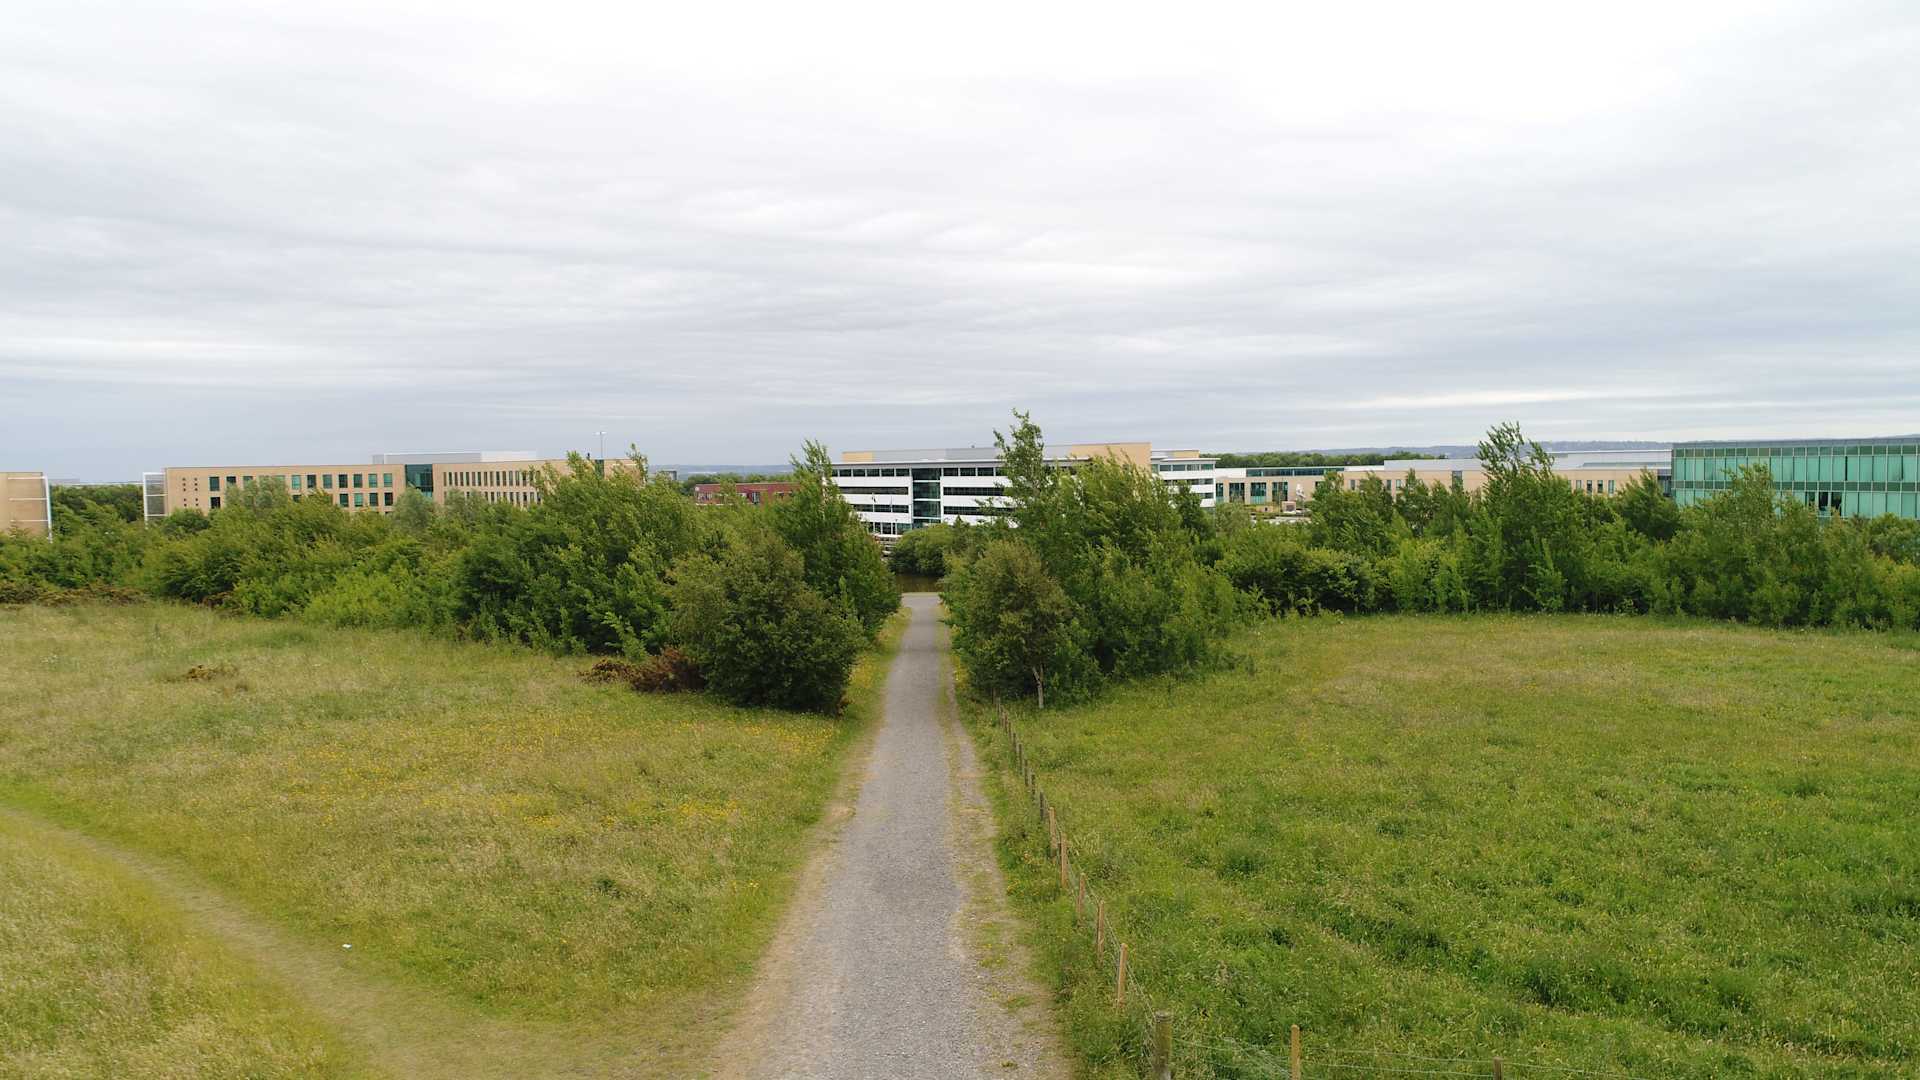
When using your drone for images, it’s recommended you use HDR (High-Dynamic-Range) or AEB (Auto Exposure Bracketing) available on the majority of DJI’s drones. The AEB setting will automatically take either three or five pictures with varying levels of exposure when you press the shutter button. You can then merge the images in post-production, choosing the most effective part of each image for the best exposure. This option gives you control over the end result, creating an image that suits your style. Below is an example of the separate AEB images:
The HDR option will take three photos from overexposed to underexposed. These images are then automatically merged to give the highest quality images with the correct exposure. This is a useful option for images you want to share instantly. Below is an example of separate HDR images:
You can also manually bracket your photos by adjusting the camera settings in the app.
Histogram

Exposure Warning
Want to know more about drones photography settings? Head to our previous Insider post here.
Be Careful of People

Have the Right Kit
A great way to get the most out of flying in summer is to ensure you have the right type of kit for the job.
Use Filters
A key tool available to help you with your videos and images, especially in bright sunlight is ND (Neutral Density) and PL (Polarising) filters.
ND Filters
ND filters have been dubbed ‘sunglasses for your camera’ as they reduce the amount of light that can enter the camera’s sensor, effectively increasing the aperture. This helps with the exposure of your shots and increases your overall flexibility over your settings. Using ND filters will improve your photos but particularly your video, helping you achieve a more cinematic look.
PL Filters
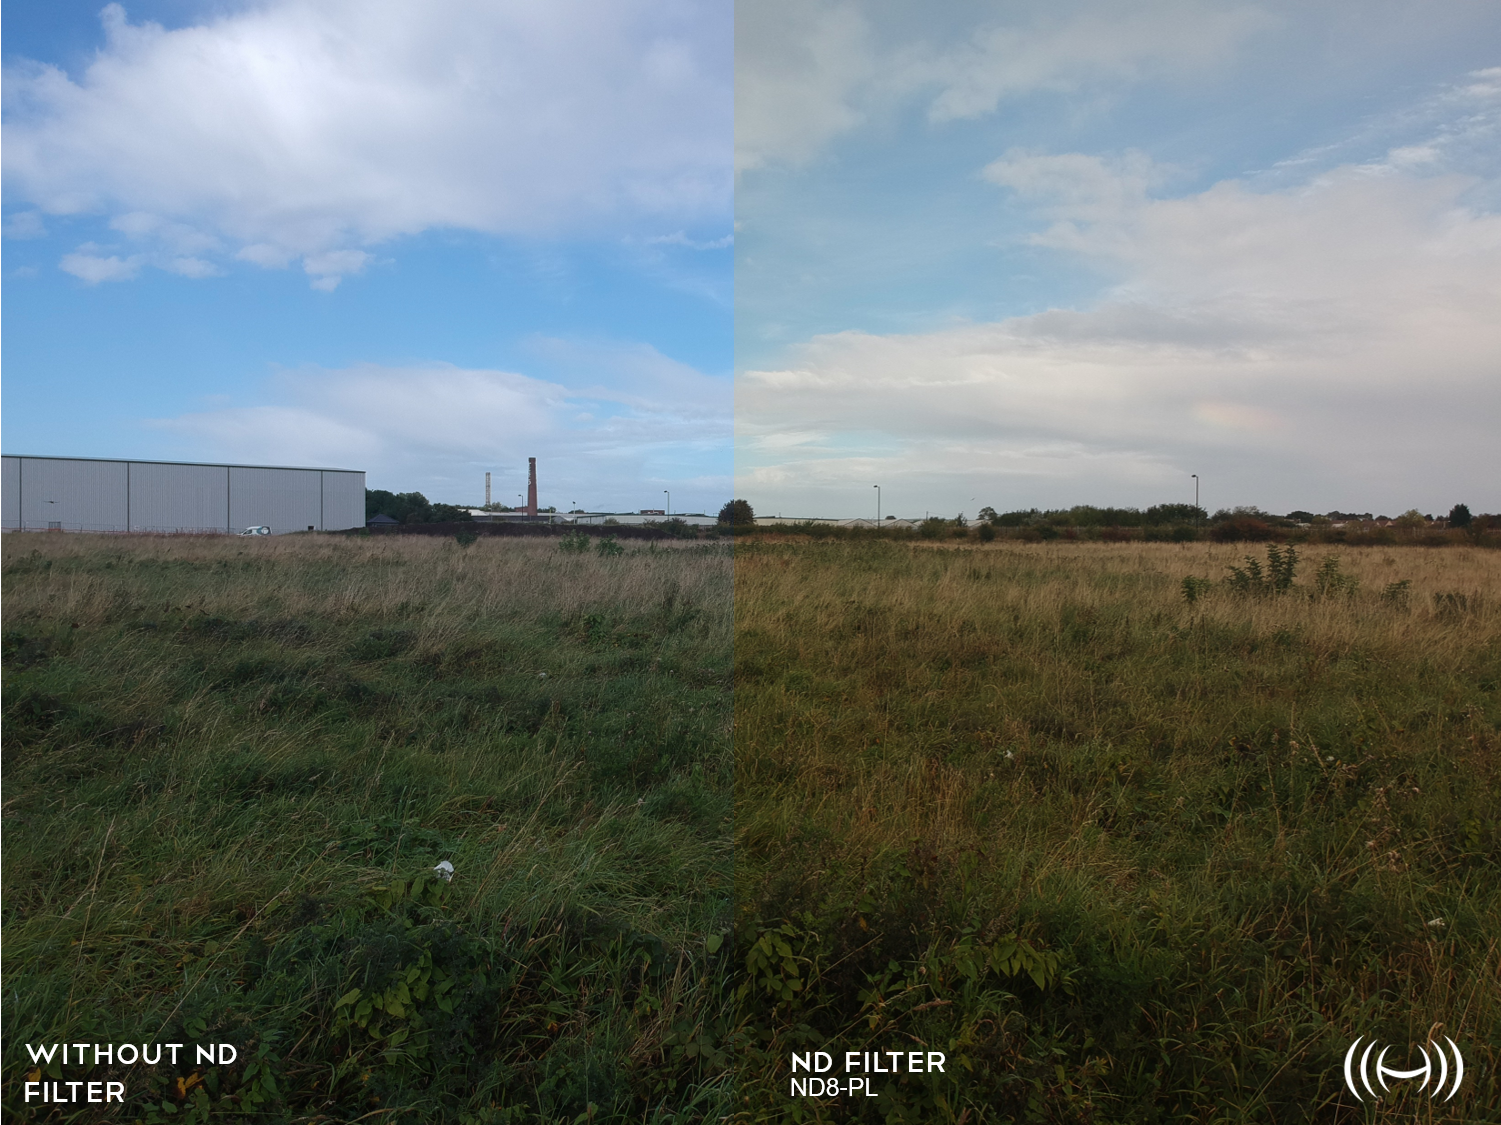
If you’re looking for a helpful guide on using an ND filter, head to our previous blog post here or check out our video introduction below.
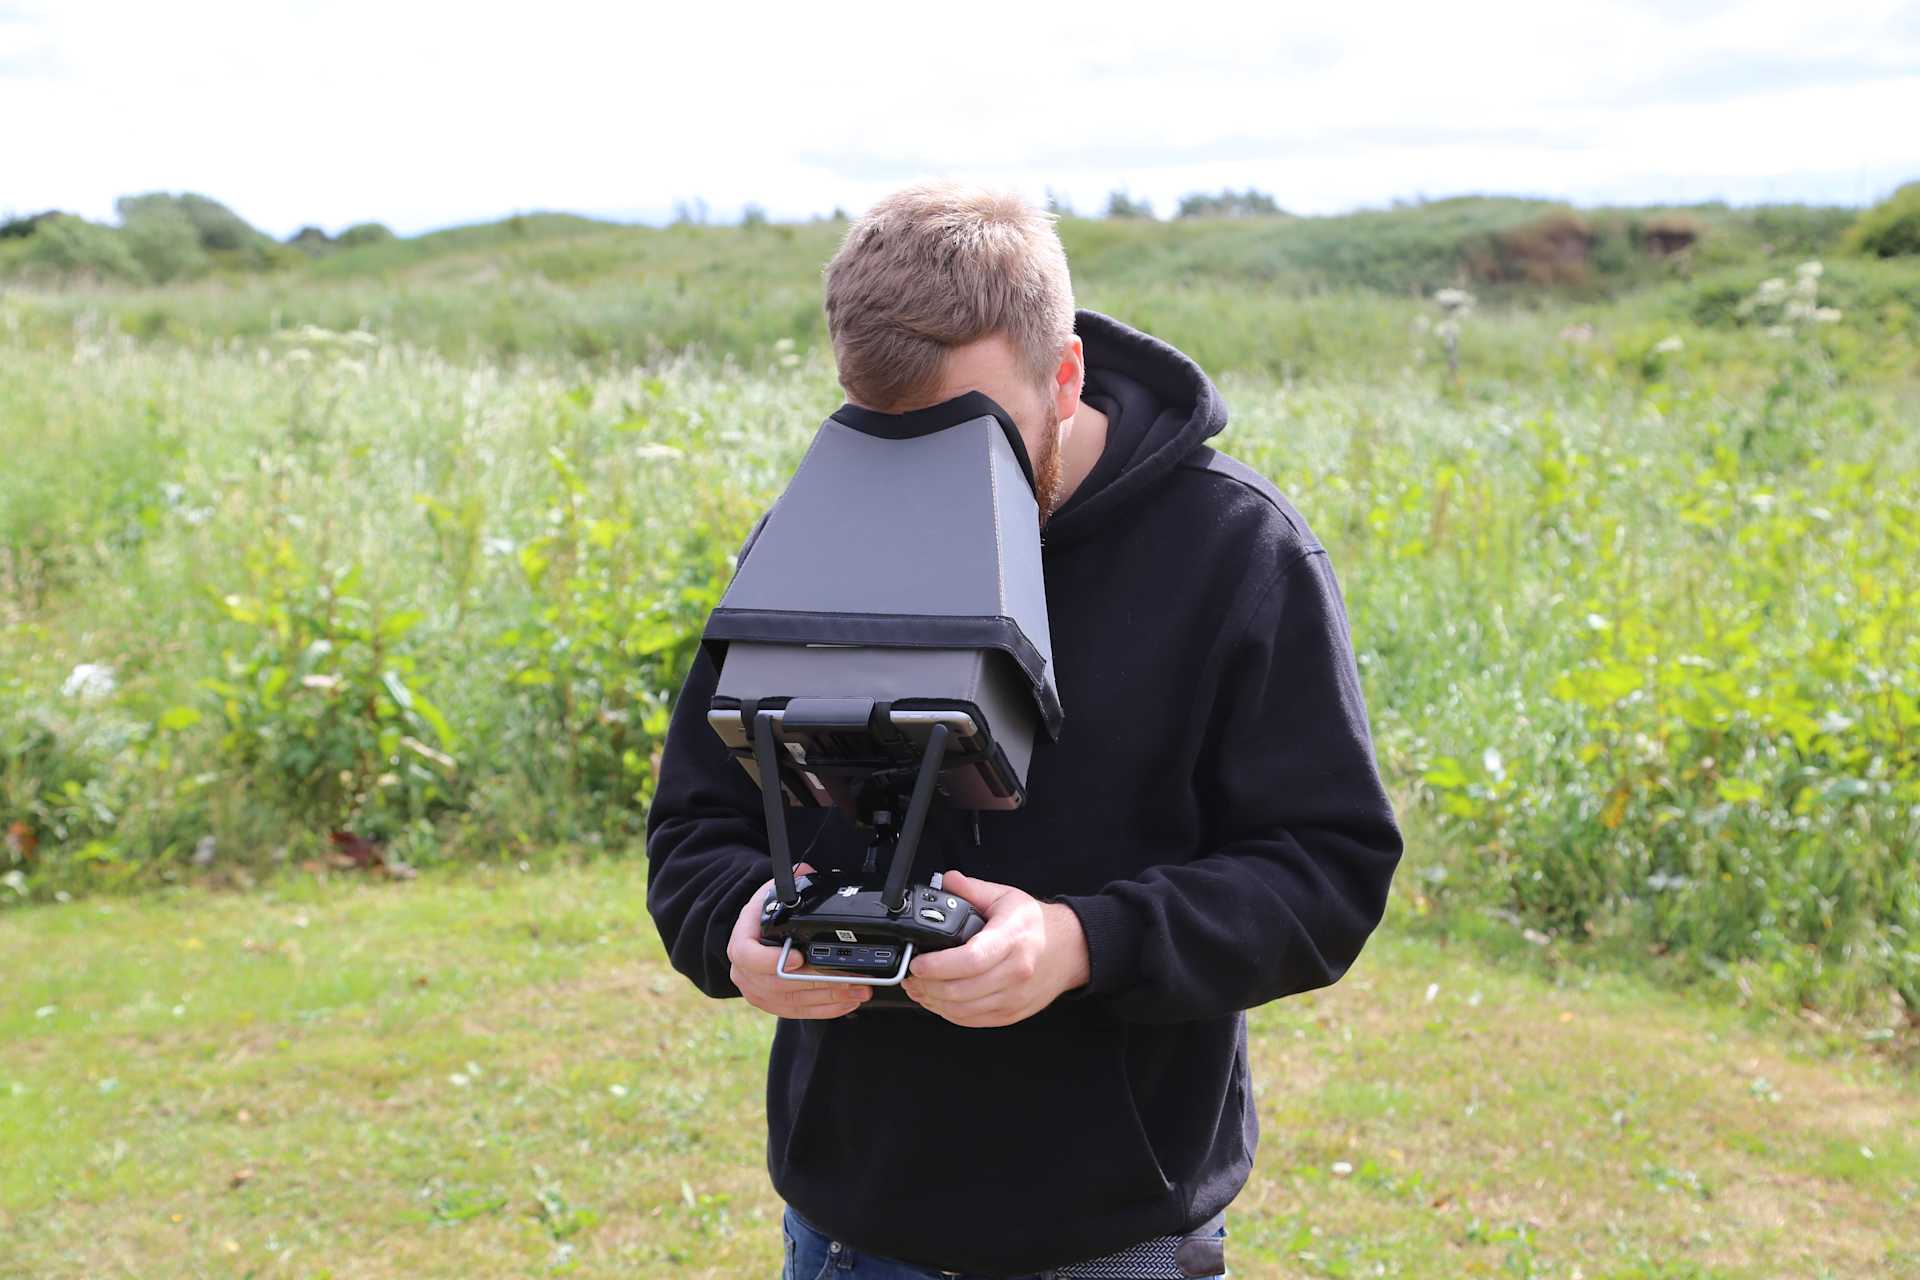
Monitor Hood
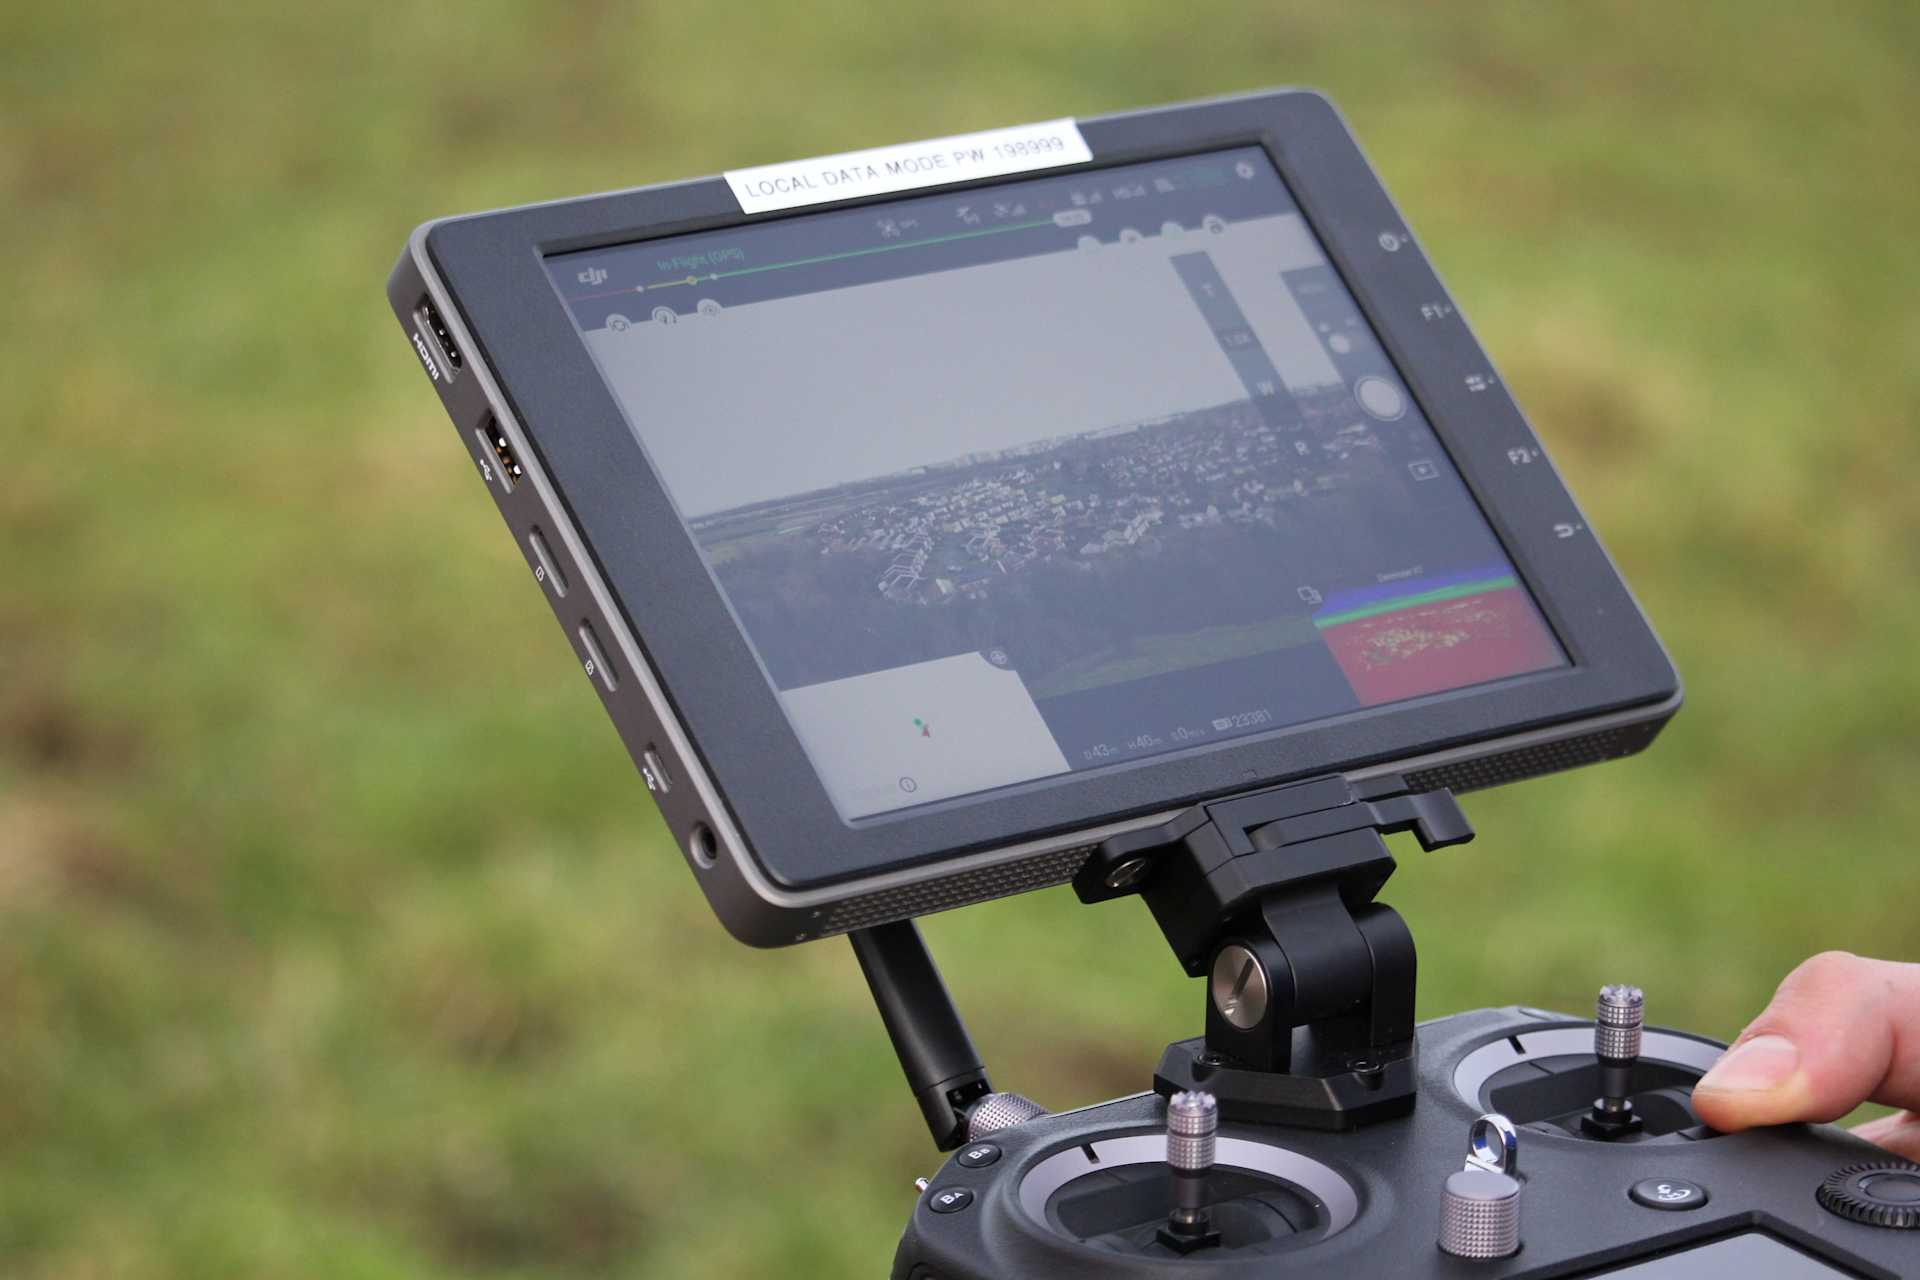
CrystalSky Monitor
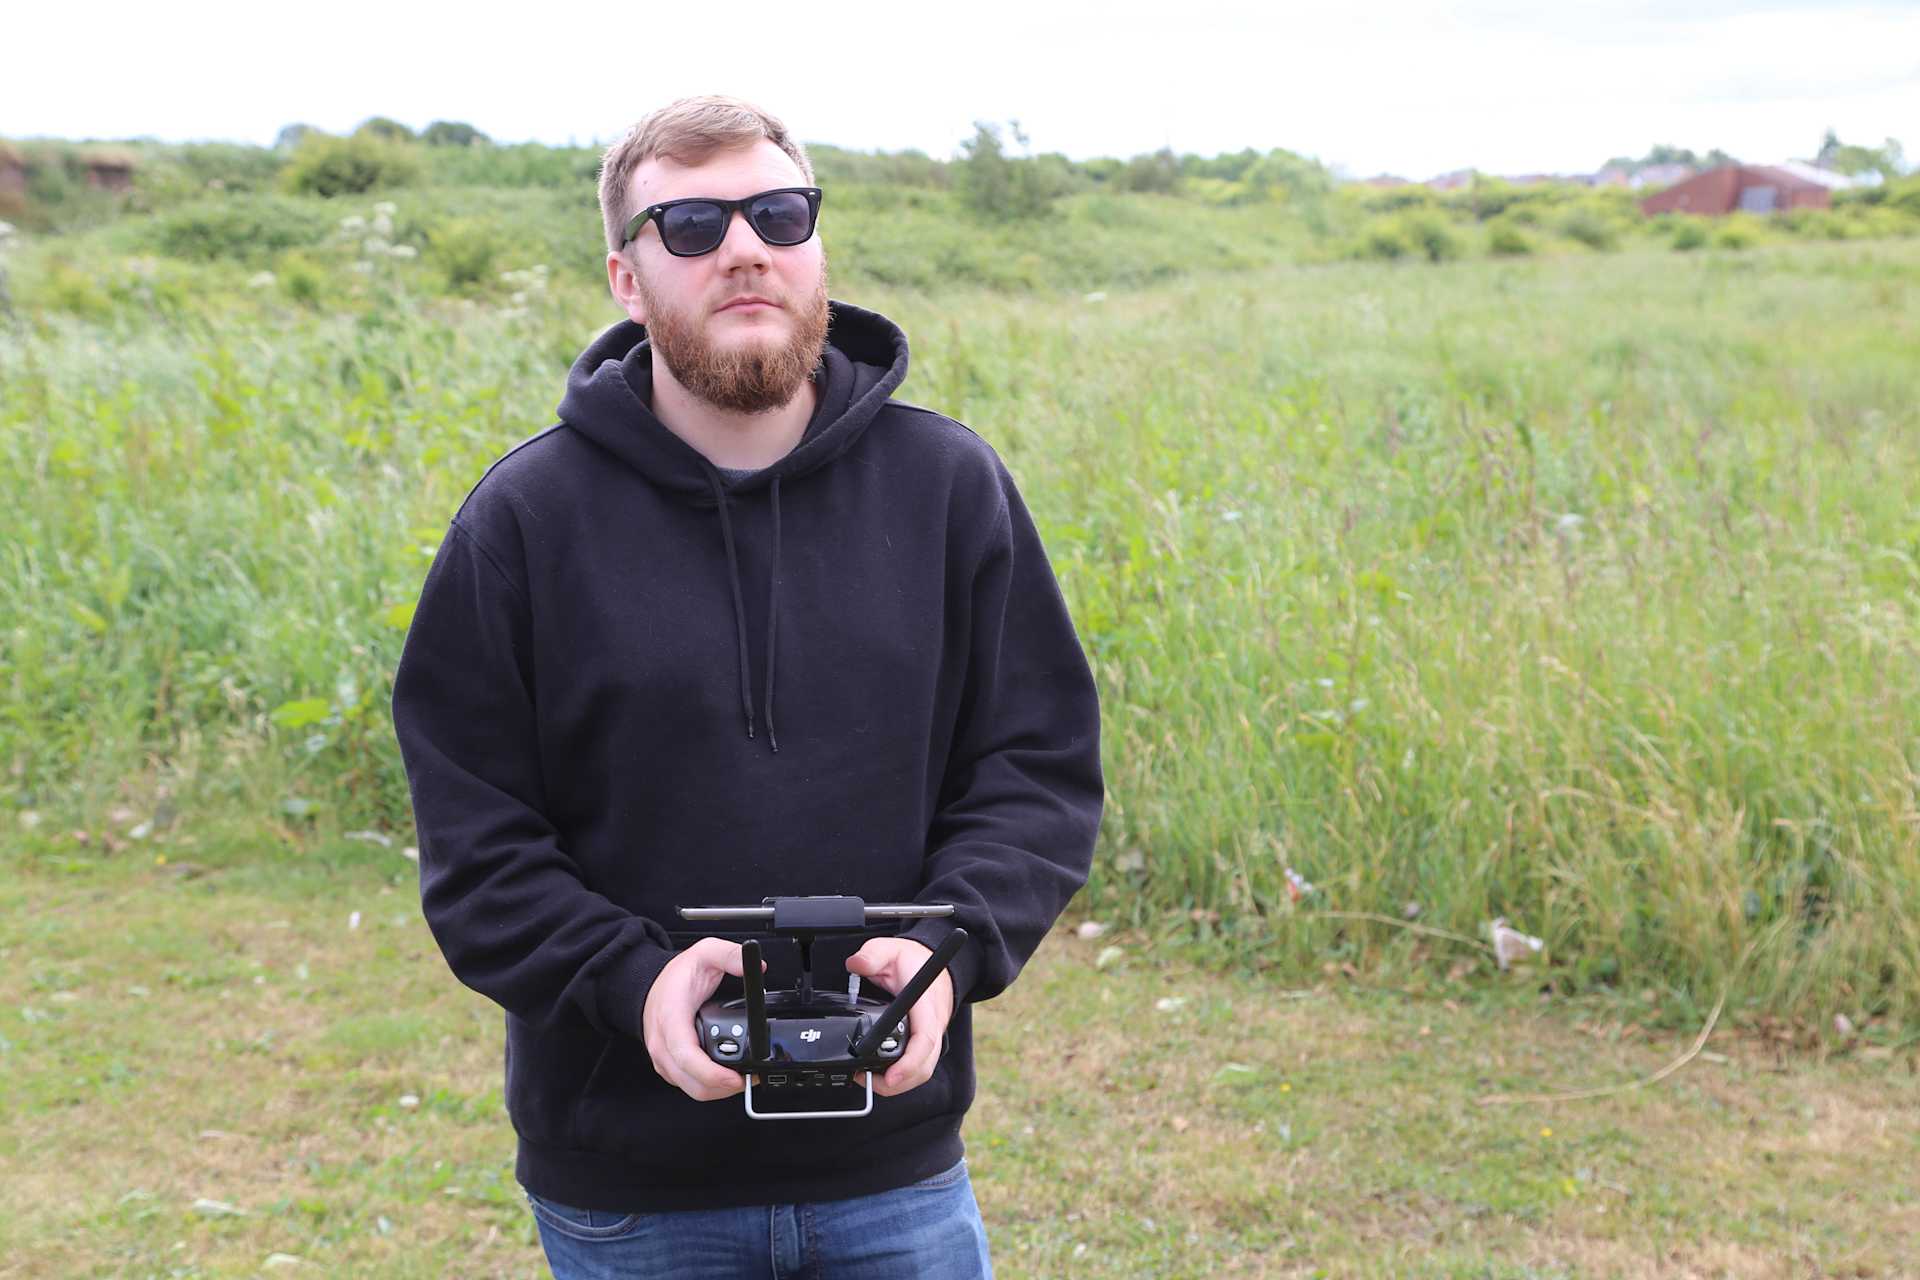
Prepare Yourself
Summary
Summer is a great time to take your drone out and make the most out of the weather and longer daylight hours. Keep in mind the above advice to ensure your flight is as safe as possible and to help you capture the best photos and videos. Like all drone flights, the key is around preparation and being both vigilant and sensible. Look out for any warning signs and don’t push your drone to its limits.
To discuss any information from the above post or any DJI or Freefly product, please give one of our team a call on 0191 296 1024 or email us at info@heliguy.com.
Keep checking back to Heliguy’s Insider Blog for more announcements, insights into drones and, of course, the latest news from the drone industry.
