Products
Published on 30 Sep 2020
James Willoughby
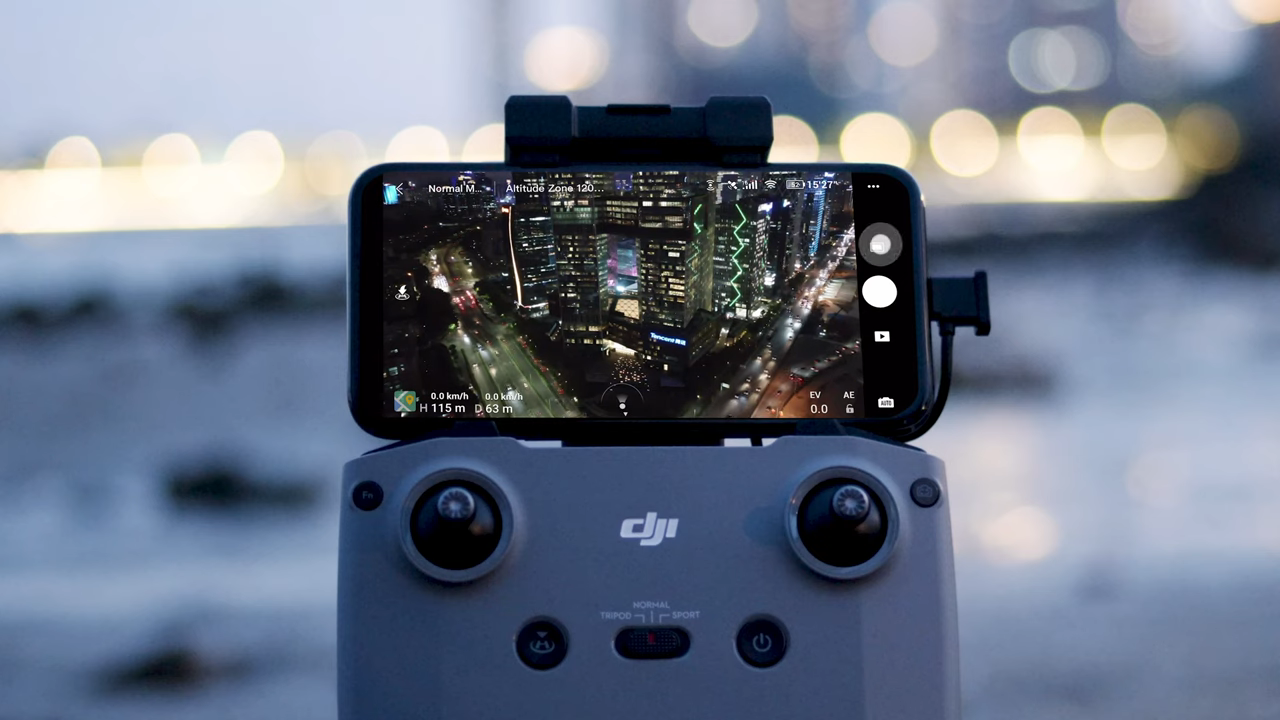
DJI Mavic Air 2: Hyperlapse Free Mode
A step-by-step guide to teach you how to use the Hyperlapse Free Mode on the DJI Mavic Air 2 drone.
In this HELIGUY.com™ tutorial you will learn how to use the Mavic Air 2 Hyperlapse Free Mode. By learning this quick feature, you can create unique and stunning content.
Hyperlapse shooting is becoming easier than ever to create with the features DJI offers. Take the Mavic Air 2 for example, it can shoot an incredible 8K Hyperlapse video. This is next level video content and will improve your drone content marginally.
So let's jump into this short HELIGUY.com™ tutorial and start learning how to use the Hyperlapse mode on the DJI Mavic Air 2.
How to use Hyperlapse Free Mode on the Mavic Air 2
Tap Hyperlapse.
Select Hyperlapse.
Choose Free.
Set the Photo Interval.
Select Length of time.
Set Maximum Flight Speed.
Select Shutter Release.
During flight.
Be sure to get creative and try out different shooting angles whilst in the Hyperlapse Free Mode. Share your new Hyperlapse footage with friends and family to showcase your skills.
