Products
Published on 11 May 2020
James Willoughby
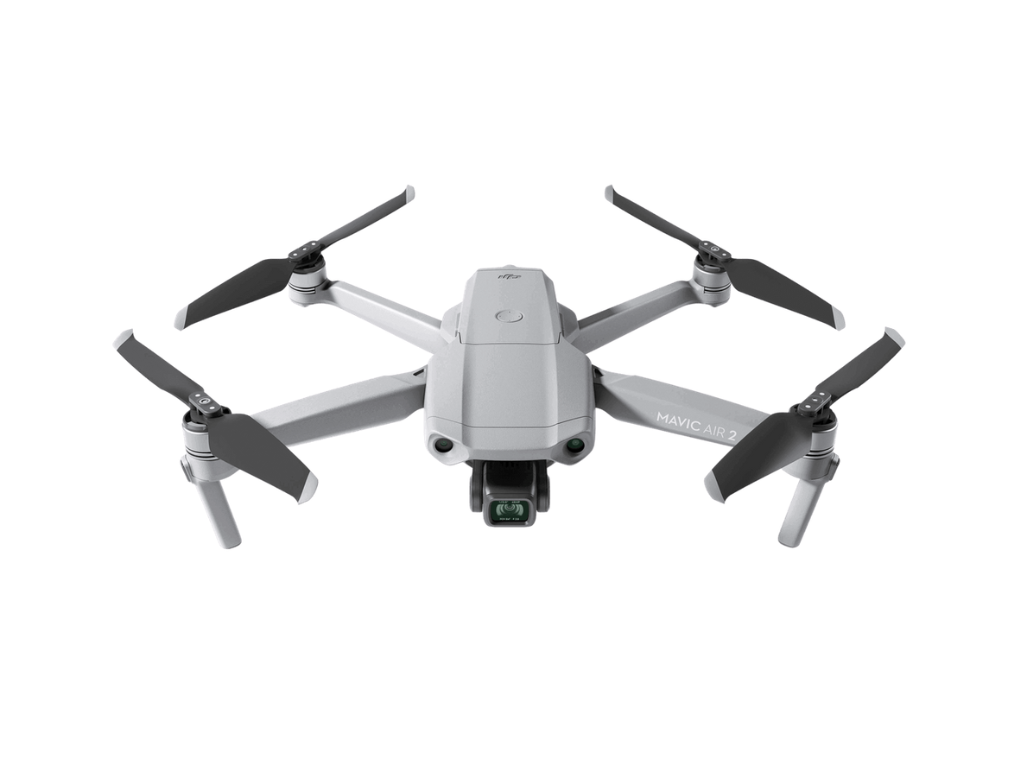
How To Fly The DJI Mavic Air 2 - Beginner's Guide
Step by step guide to flying the DJI Mavic Air 2, including how to use the RTH function.
We will show you how to prepare for your first flight with the DJI Mavic Air 2, making sure you know the basics before takeoff.
First of all, make sure that:
The remote controller is set to normal mode.
The battery is secure.
The gimbal protector has been removed.
The propellers are correctly attached.
TIP: Align the propeller on the motor and then press down and rotate the propeller to mount.
Next, download the DJI Fly app. Access the app store in your smartphone, search for DJI Fly, and then download the app.
Activating the Aircraft
The DJI Mavic Air 2 and the remote controller are already linked, so to activate the aircraft, you just have to open the DJI Fly app and follow the instructions.
Flying The DJI Mavic Air 2: The Basics
Once you’ve found a great takeoff location, place Mavic Air 2 on level ground. The aircraft should face outward, with the rear closest to you.
Open up the DJI Fly app.
Ensure the aircraft and remote controller are linked and tap Go Fly.
Tap Safety and set the RTH height higher than the tallest building or object near you.
Set the RC mode to normal before takeoff.
Tap the Auto Takeoff icon at the left side of the screen, tap and hold the icon that pops up, and then Mavic Air 2 will automatically takeoff. After takeoff, the icon will change to Auto Landing for when you decide to land.
When it’s time for Mavic Air 2 to land, tap the Auto Landing icon and hold. Then, Mavic Air 2 will automatically land. If you prefer to do things manually, pull both control sticks to the bottom of the controller and then push inwards or outwards.
When the propellers start to rotate, gently push the left control stick up, and Mavic Air 2 will take off. Remember that the left control stick controls your flying altitude and the direction Mavic Air 2 faces. The right joystick lets the aircraft fly forward, backwards, and to either side.
Pull down the left control stick to power off the motors when the aircraft hasn't taken off. When the Mavic Air 2 is already in the air, pulling down the left control stick will initiate the landing sequence.
You can also view flight information, such as distance flown and speed, at the bottom of the screen.
Tap the icon at the right side of the screen to take photos, videos, or QuickShots.
Tap the Gallery icon to view or download photos and videos. The camera parameter menu at the bottom right allows you to adjust parameters. You can also adjust the gimbal pitch and control the camera using the gimbal dial on the left side of the remote controller - and the shutter/record button on the right side.
To initiate RTH, tap the RTH button on the screen and hold it, or press the RTH button on the remote controller and hold it. TIP: Pay attention to the camera view and aircraft position in real-time during the RTH process to ensure safety. If you notice any worrying obstacles during RTH, you can tap the cancel button on the left side of the screen or press the RTH button on the remote controller to stop the RTH process. Then, the aircraft will stop immediately and hover in place.
Enjoy your first flight with Mavic Air 2!
