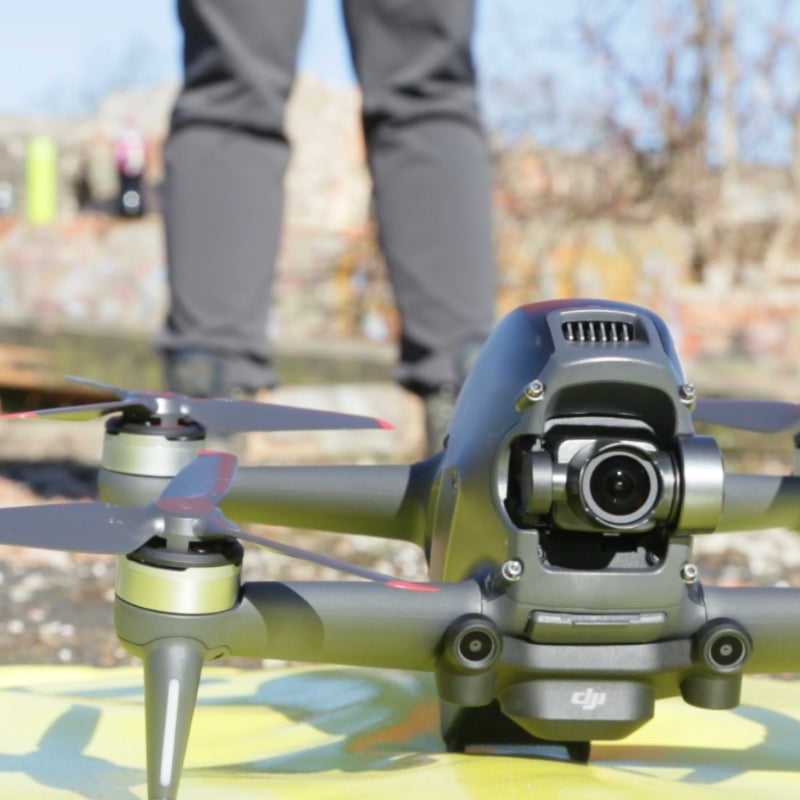
How to Replace Parts and Repair The DJI FPV Drone
Step by step guide to teach you how to replace parts on your DJI FPV drone.
In this tutorial blog, you will learn how to replace several DJI FPV drone parts, including the top shell, gimbal camera, arm bracers, landing gear, and propeller guard.
heliguy™ does have its Repair Refresh crash cover policy available for the DJI FPV Combo, to give you peace of mind and protect you, should something serious happens to your equipment.
Before getting started on replacing parts on your FPV drone, make sure you have a hex key and the replacement parts required.
DJI FPV Drone: How To Replace The Top Shell
Remove the gimbal protector and the four long screws around the gimbal before detaching the gimbal outer frame.
Remove the four screws on both sides of the top shell and remove the gimbal outer frame.
Detach the top shell.
Put a new top shell on the drone.
When installing the top shell, align the front part first and then the rear part, and make sure the shell is securely snapped into place.
Tighten the screws on both sides of the top shell.
Fix the gimbal outer frame by fastening the four screws.
The replacement of the top shell is now complete.
How To Replace DJI FPV Drone's Gimbal Camera
Remove the four short screws around the gimbal and the silver camera cable screws.
Gently lift the small metal plate, remove the camera cable connector and detach the gimbal camera.
Insert a new camera cable connector, fix the gimbal leg and tighten the two silver screws.
Tighten the four screws to fix the gimbal camera.
Install the top shell and gimbal outer frame.
The replacement of the gimbal camera is now complete.
Remove the two bottom screws and detach the front landing gear.
Remove the antenna connector and two cable connectors, and then replace the LED panel.
Fix the antenna connector and cable connectors, put on the new front landing gear, and tighten the screws.
The replacement of the front landing gear and LED panel is now finished.
DJI FPV Drone: How To Attach The Arm Bracers
Taking the left as the example: Insert the arm bracer from the bottom of the left aircraft arms and ensure it is fully connected.
Mount the buckle on the rear left motor and align with the screw hole.
Turn over and fasten the screw, and the installation of the arm bracer is finished.
Take the other arm bracer, marked with the letter R, and repeat these steps.
How To Attach The Propeller Guard To The DJI FPV Drone
Using the left side as an example: Take out the left bases of the propeller guard and connect the ones marked LF and LB.
Put the aircraft arms on the corresponding bases, then push down to fix them in place.
Lock the buckles, and the installation of the left propeller guard is finished.
Take out the RF and RB bases and repeat these steps to finish the installation of the right propeller guard.
Summary
Maintaining your DJI FPV drone by replacing essential parts like the top shell, gimbal camera, arm bracers, landing gear, and propeller guard ensures its longevity and optimal performance.
For added peace of mind, heliguy™ offers Repair Refresh crash cover, protecting your equipment in case of serious damage.
If you need further assistance with replacing parts or have any questions about drone repairs, contact heliguy™ for expert support via phone or email.