Updated on • 11 Oct 2024
Spark Portable Charging Station Tutorial
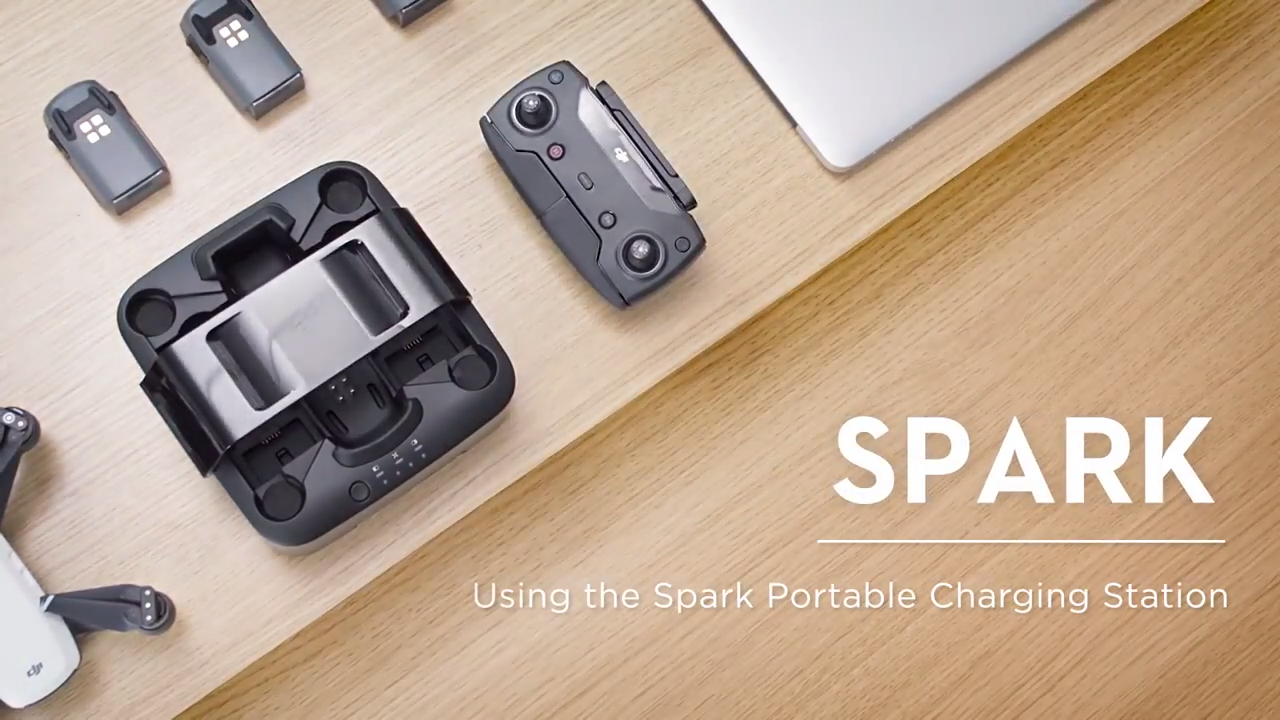
Step by step guide on how to use the DJI Portable Charging station. Including tips and tricks for getting the best results.
This blog will guide you through the DJI Spark Charging Station and its features.
To use the DJI Spark Portable Charging Station, undo the top buckle.
Insert the battery and ensure it is secure.
Place DJI Spark into the charging station.
Close the safety buckle to secure the DJI Spark.
To start charging, plug the cable into the Charging Station. The station will always charge the drone first, then the batteries, and then the station itself.
You can also plug in your USB Cable to charge your device or controller.
Device Light Meanings:
It is charging: The middle icon shows an "X" with two switches on either side (both off). A green bar is present under the "X," indicating the battery is charging.
It is fully charged: The same icon structure with an "X" in the middle and two switches on either side (both off), a green bar under "X" indicates the battery is fully charged.
There is a battery error: The icon structure is the same, with an "X" in the middle and two switches on either side (both off); a red bar is under the "X", indicating a battery error.
It is ready for charging: It has the same icon structure, with an "X" in the middle and two switches on either side (both off). A yellow bar is under the "X," indicating that the battery is ready for charging.
Subscribe to our YouTube Channel for Exclusive DJI News, Reviews and Advice.

written by
James Willoughby
James joined heliguy™ in 2018 following a 13-year stint in print and online journalism, having worked on regional and weekly newspaper titles. He is responsible for spearheading heliguy™'s content strategy and social media delivery. James collaborates with DJI Enterprise's European marketing team to coordinate and produce case studies and helps organise events and webinars.