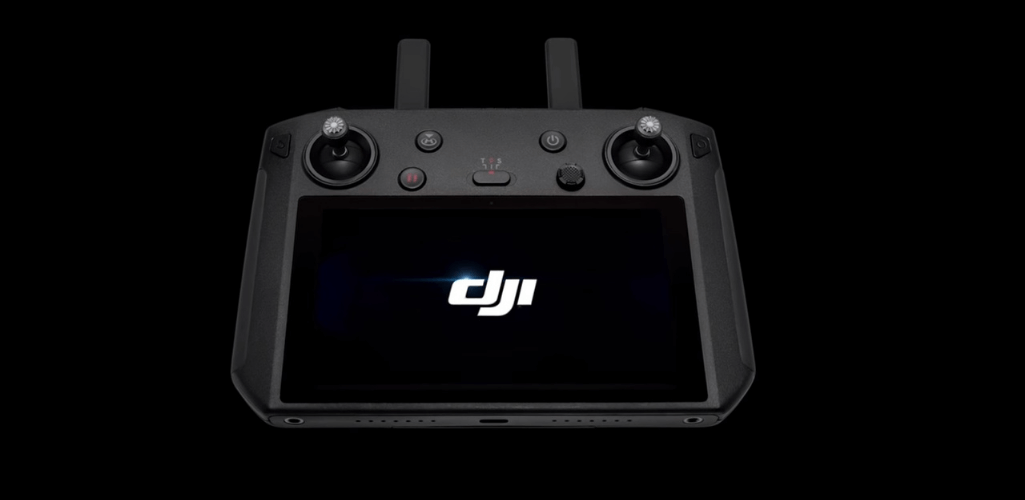
How To Update The DJI Smart Controller
A step-by-step guide to help you update the firmware on the DJI Smart Controller with DJI GO 4 and Assistant 2.
Here is a step-by-step guide to updating the firmware on the DJI Smart Controller with DJI GO 4 and Assistant 2.
Updating Via The Built-in System
Turn on the DJI Smart Controller before the update and tap the menu icon on the bottom right of the screen. During the update, the remote controller should be connected to the internet.
Enter into the system settings page.
Scroll down to the bottom of the page. Tap System Update. The system will automatically check for firmware updates.
Follow the system instructions to update the firmware.
After the update is finished, the DJI Smart Controller will automatically restart.
Updating via DJI Assistant 2
Turn off the remote controller.
Connect the remote controller with the PC via a USB-C cable and then turn on the DJI Smart Controller.
Launch DJI Assistant 2.
Log in with the DJI account, then enter the main interface.
Click the DJI Smart Controller icon, and then click the 'Firmware Update' button on the left.
Click the 'Upgrade' button shown after the latest firmware, then click START UPDATE.
DJI Assistant 2 will download and install the firmware and update automatically.
After the update is finished, the DJI Smart Controller will automatically restart.
Get in Touch
If you are after direct support, please contact us via phone or email.